Install Space Acres
Space Acres is our recommended farming application because it simplifies getting started with the Autonomys Network. As a user-friendly GUI application, it provides the most common configuration options through an intuitive visual interface, making farming accessible to everyone—from complete beginners to experienced users who want a streamlined experience.
Why Space Acres is recommended:
- Beginner-friendly setup: Visual wizard guides you through the entire process
- All-in-one solution: Node and farmer combined in a single application
- Real-time monitoring: Visual dashboard shows your farming progress and rewards
- Simplified configuration: Most common farming scenarios covered through easy-to-use interface
Need more advanced features? If you require multiple farms, farming clusters, or specialized configuration options not available in the GUI, consider the CLI instead.
Before You Begin
Make sure you have:
- A computer with a reliable internet connection.
- Enough free disk space (we'll help you determine the required amount later).
- Administrator access on your computer.
What to expect:
- Syncing might take from a few hours up to a day.
- The initial syncing and plotting require substantial computational resources, so your computer might run slower for daily tasks until completion.
Please note that a wallet with a Substrate address is required to run the software.
To learn how to create a Substrate wallet, please visit our pages on SubWallet (recommended) or {polkadot.js} extension.
To ensure proper communication between Space Acres and other peers, forward ports 30333 and 30433 on your router to the PC running Space Acres. For more details, refer to the Port Forwarding Guide.
Installation Videos
For those who prefer a visual guide, we have prepared installation videos to assist you. The videos will help you to set up Space Acres. If you prefer detailed text instructions, please proceed to Step 1.
- Ubuntu
- Windows
- macOS
Step 1: Download and Install Space Acres
- Ubuntu
- Windows
- macOS
Download the Space Acres Installer or the Portable App
Currently, there are two ways to get Space Acres on Linux:
- by installing
.debpackage on Ubuntu (recommended) - by running
.AppImagebundle directly on any modern Linux distribution (including Ubuntu if you want to)
Install Space Acres
You can either install the application using provided (.deb) installer, or run the portable application (.Appimage).
Ubuntu Installer (.deb) (recommended)
-
To install the app, open terminal and run the following commands to switch to downloads directory and install an app
cd Downloads
sudo apt install ./space-acres*.deb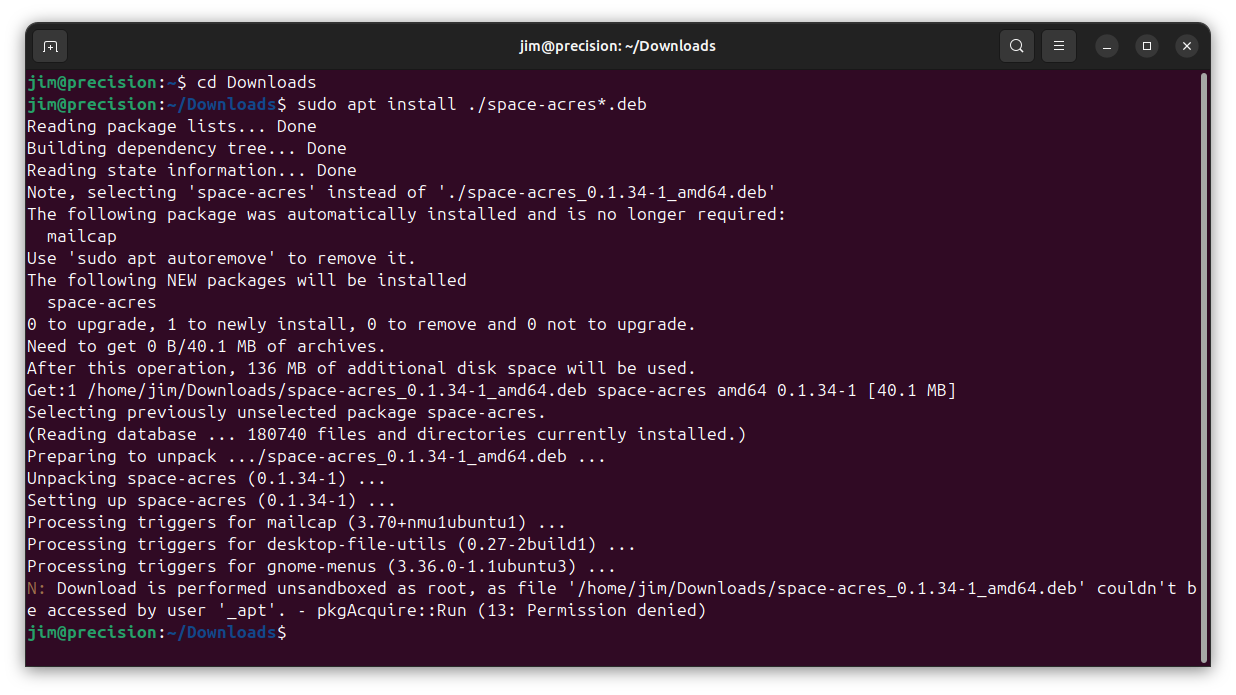
Replace
Downloadswith the correct name of downloads directory if you have non-English Ubuntu installation or if you downloaded file into a custom location. In case you have multiple versions of Space Acres downloaded, you might want to replacespace-acres*.debwith a full name of the file you've downloaded. Or go toDownloadsdirectory and double-click the application to start the installation process -
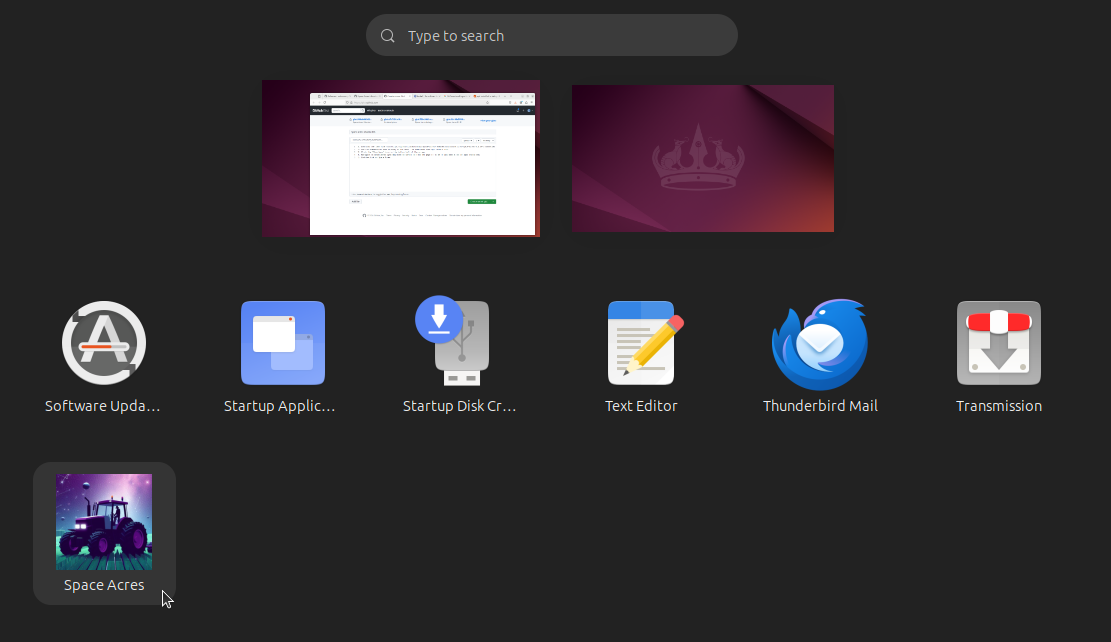
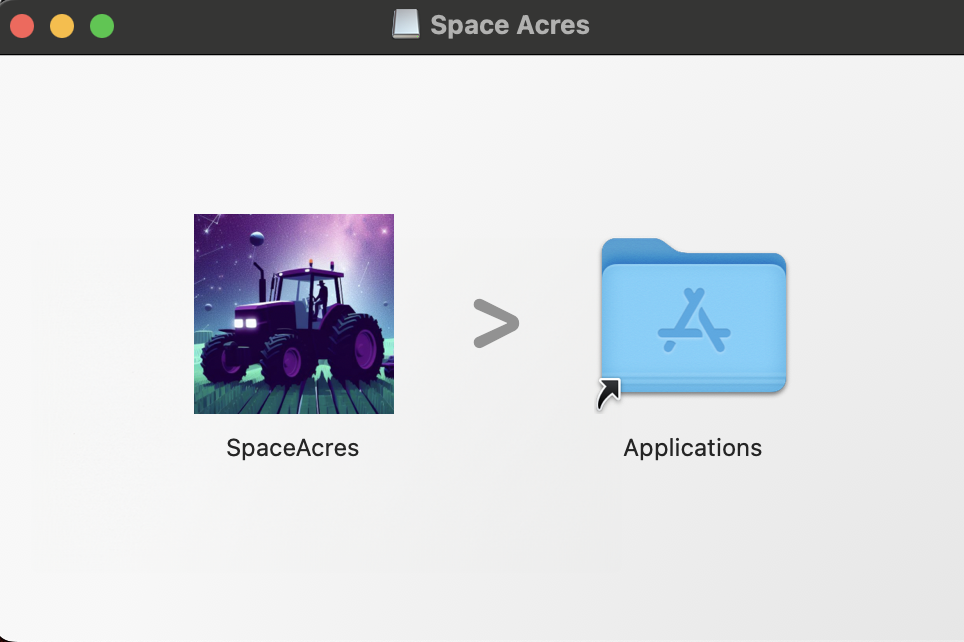
Click the "Show Apps" icon in the bottom left of the screen

-
Navigate to Space Acres (you may have to scroll to find the page it is on if you have a lot of apps installed)
-
Double-click on Space Acres and the application will start
Portable Application (.AppImage)
-
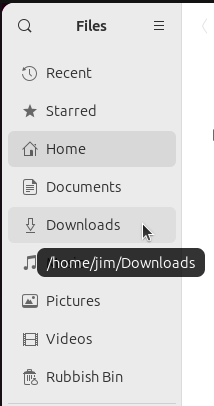
Open the Files application

-
Click the Downloads folder to open it
-
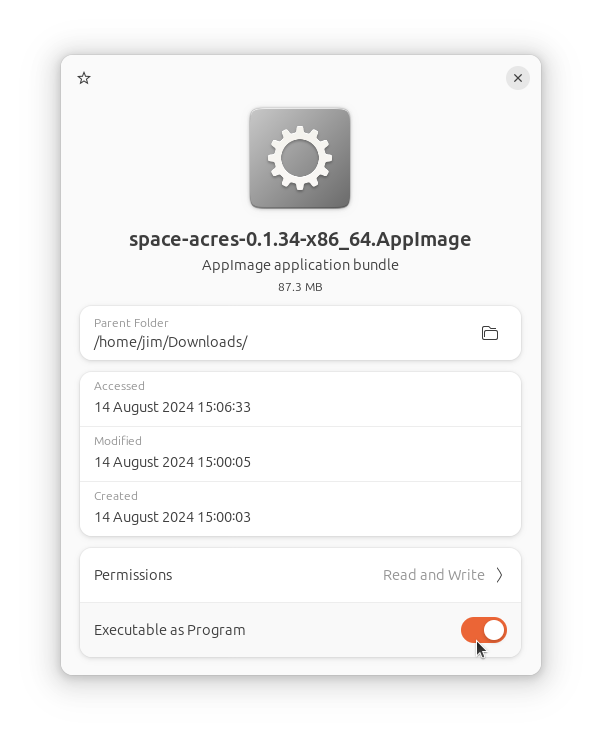
Right-click the .AppImage and select properties

-
Toggle the "Executable as program" option to on
-
Close the properties window
-
Double-click the .AppImage and Space Acres will start
Download the Space Acres Installer
Install Space Acres
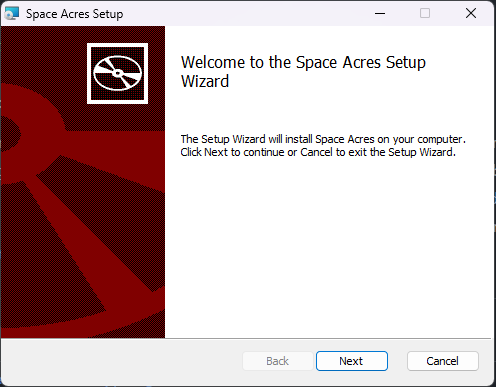
-
Open the downloaded Space Acres installer to launch the Setup Wizard. This wizard will guide you through the installation process.
-
Choose your installation preferences, such as the destination folder and whether to create shortcuts. You can also select to have Space Acres launch at startup.

-
Review your settings and click
Installto commence the installation. The wizard will then install Space Acres on your system.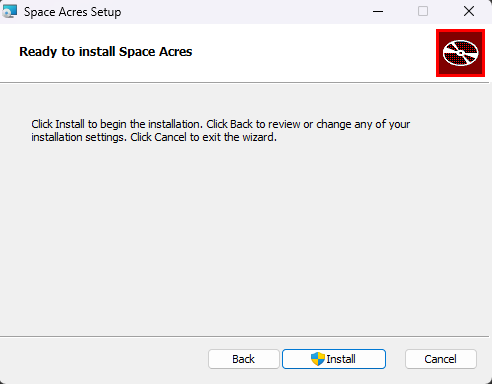
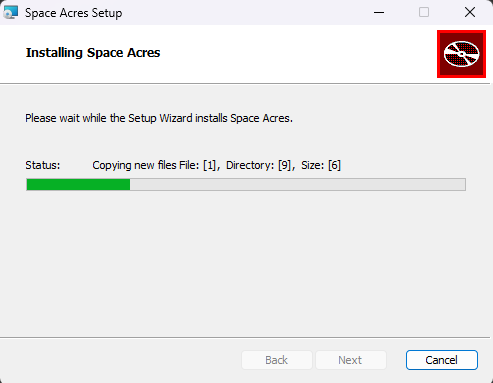
-
The installation progress will be displayed, showing the status of new files being copied.
-
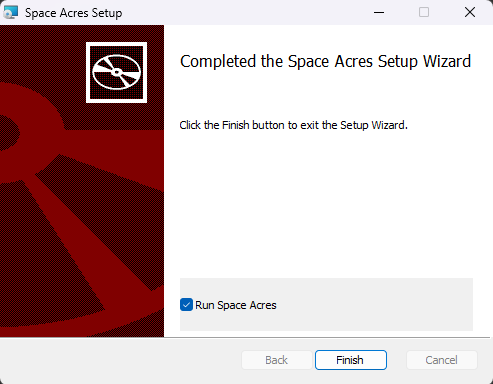
Once the installation is complete, you will see a completion screen where you can choose to run Space Acres immediately by checking the box before clicking Finish.
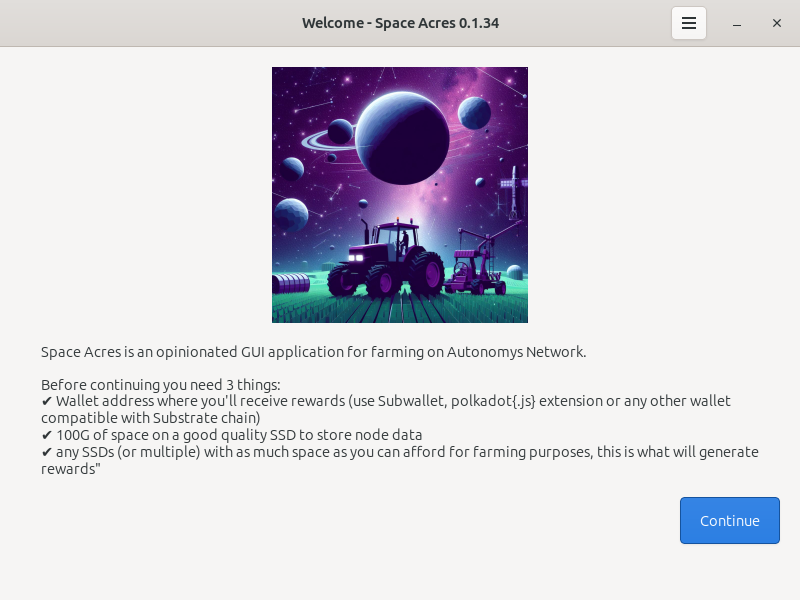
Step 2: Set Up Space Acres
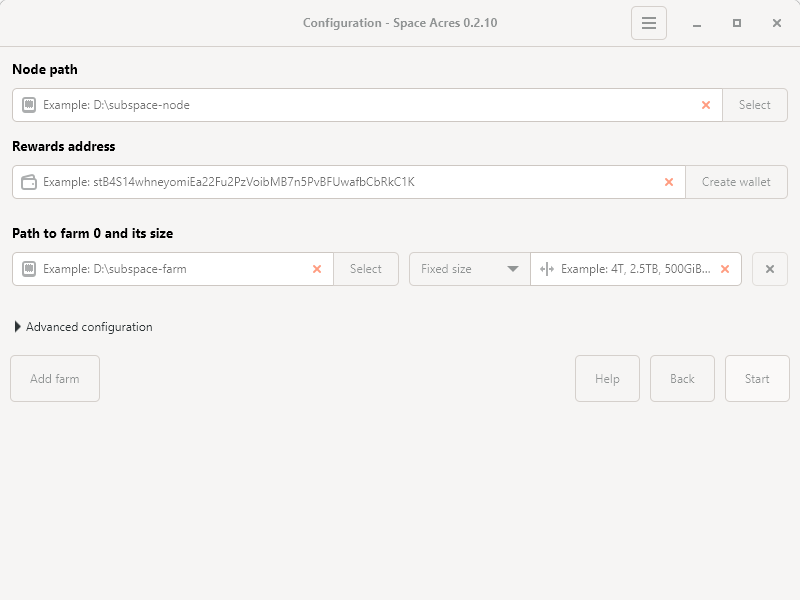
Now comes the exciting part—setting up your farm! Here's what you'll see on the first screen:
-
Node path:
- This is where Space Acres will store important data.
- Choose a location with plenty of free space, e.g.,
/Documents.
-
Rewards address:
- This is where your farming rewards will be sent.
- If you don't have one, click Create wallet.
- The address starts with an s for Talisman, FoxWallet, SubWallet, and with 5 for {Polkadot.js}.
-
Path to Farm 0 and its size:
- This is where your farms (farming data) will be stored.
- The size determines your probability of getting a reward on the Network. In most cases, larger farms will gain you more rewards.
- The size could be set as a fixed size, e.g. 4TiB, or 8TiB, or as a percentage value of the available disk space.
- If you prefer to have a few farms (e.g. you have some spare space on different SSD drives), you can click on Add farm to pledge some additional storage space.
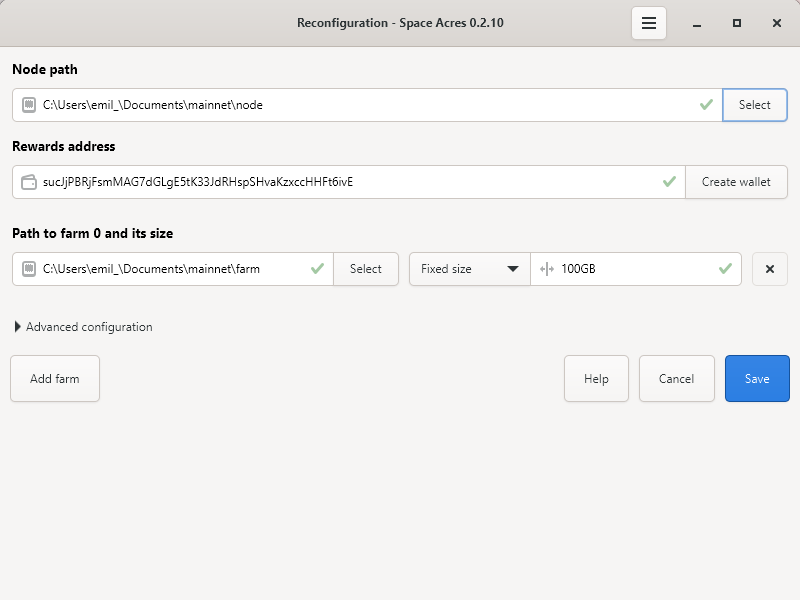
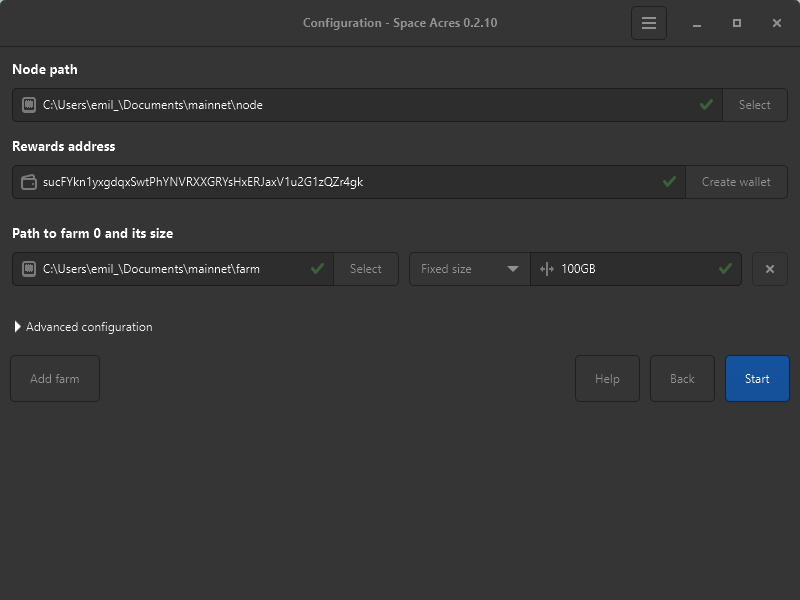 tip
tipThe screen above is an example. Use your own Node path, Rewards address, Path to farm 0 and its size, and Fixed size / Disk space percentage values
-
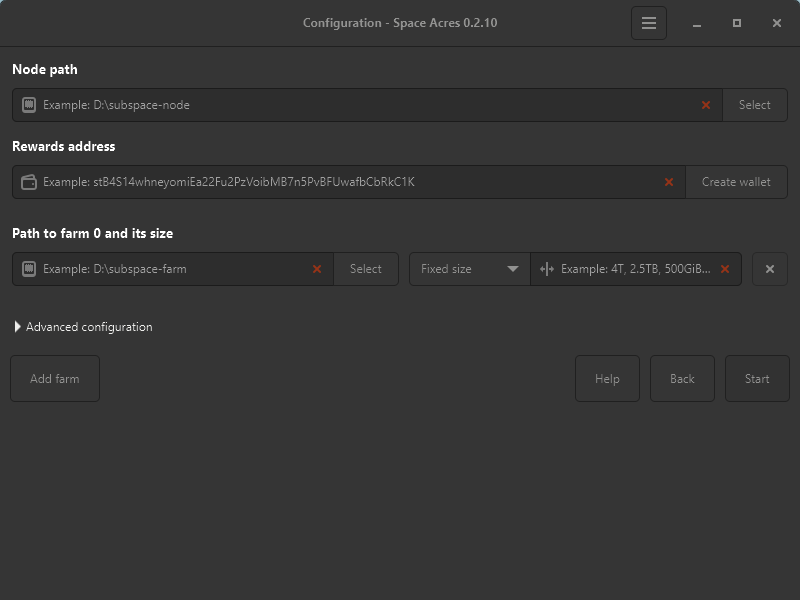
Advanced configuration (optional):
- Toggle Reduce plotting CPU load (select if using the farming PC for other tasks).
- Modify default blockchain and DSN P2P ports.
- Toggle Faster Networking (may increase router load).
tipNo need to adjust unless you are an experienced user.
For a comprehensive list of prerequisites and explanations, refer to our Getting Started Guide.
infoYour screen may look slightly different depending on your operating system, but the basic information required will be the same.
Step 3: Start Farming
- After entering your information, click Start.
- Space Acres will set up your node and connect to the Autonomys Network.
- Progress bars will show syncing and plot creation.
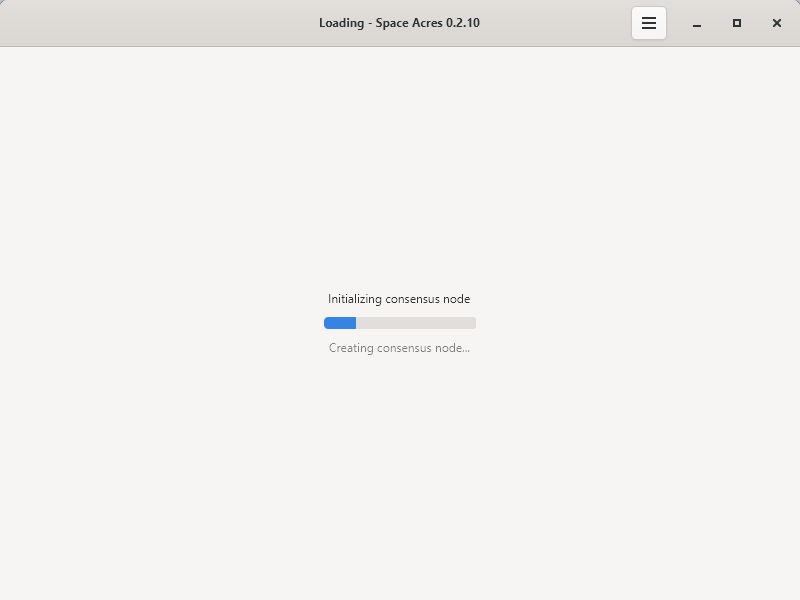
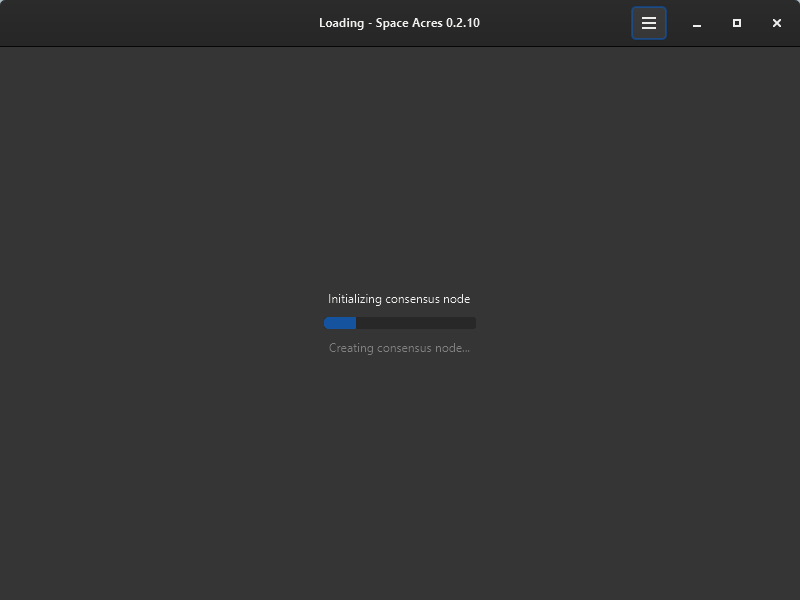
-
Once everything is ready, you'll see the main Space Acres dashboard where you can monitor your farming activity.
-
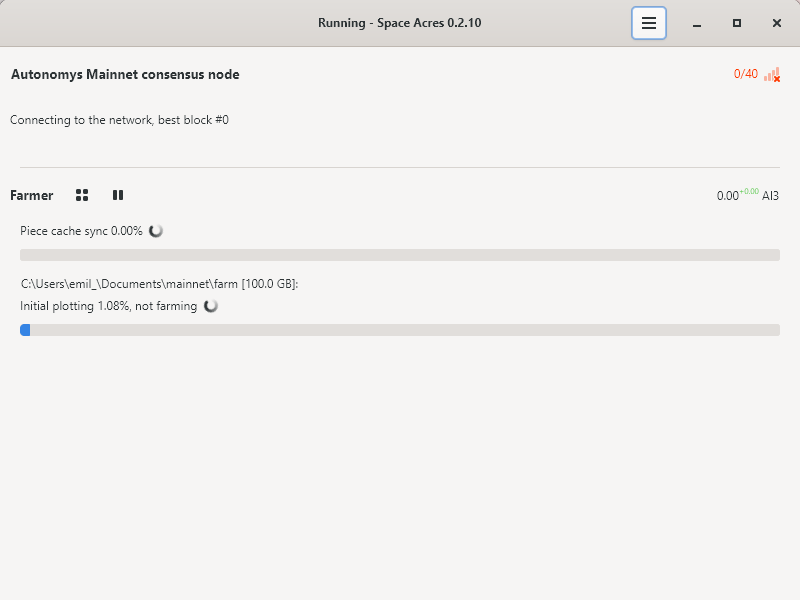
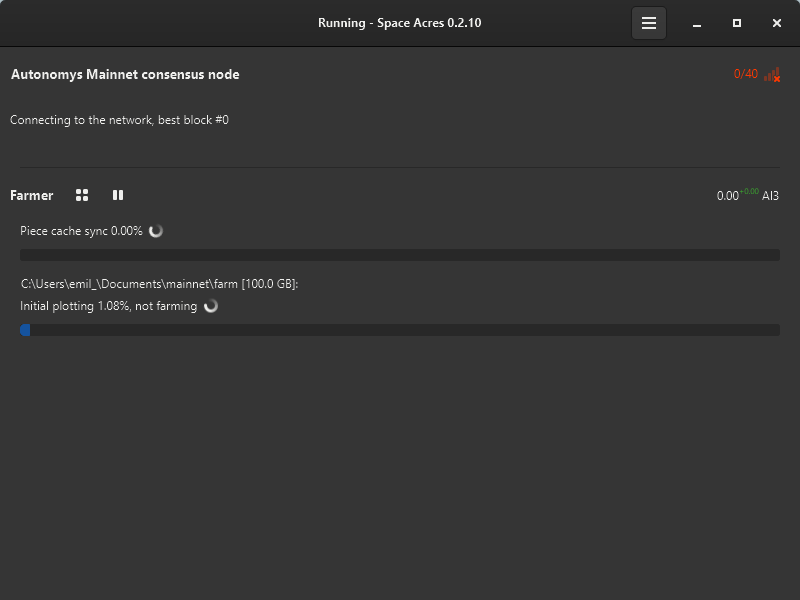
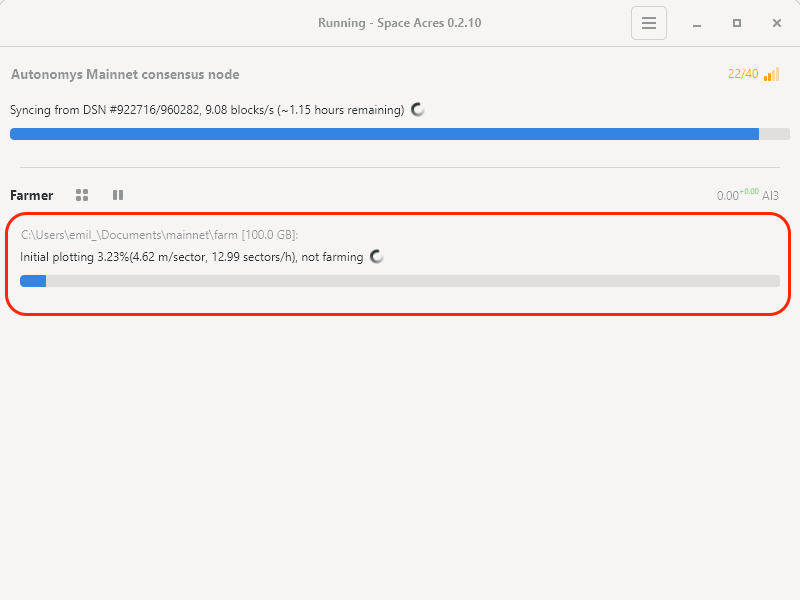
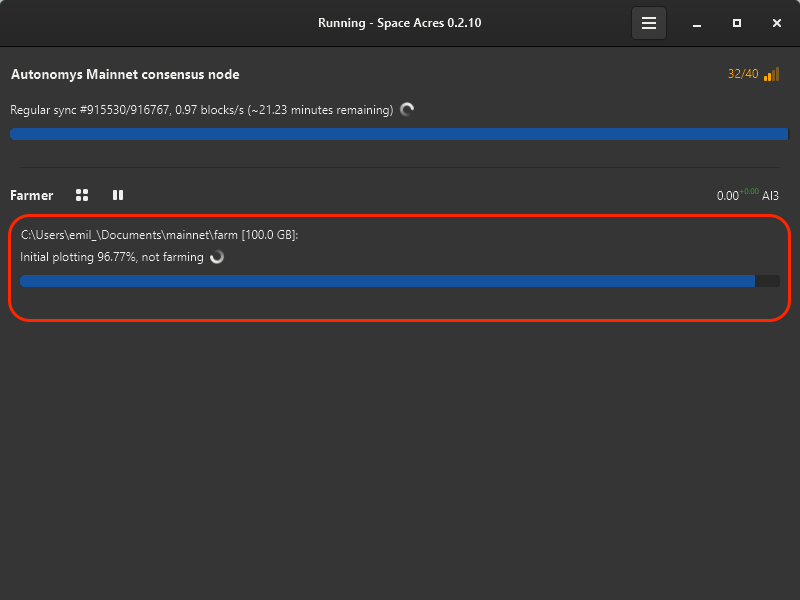
Initial syncing and plotting can take hours to days, depending on hardware, network speed, and farm size. Below are examples of the various stages you can expect.
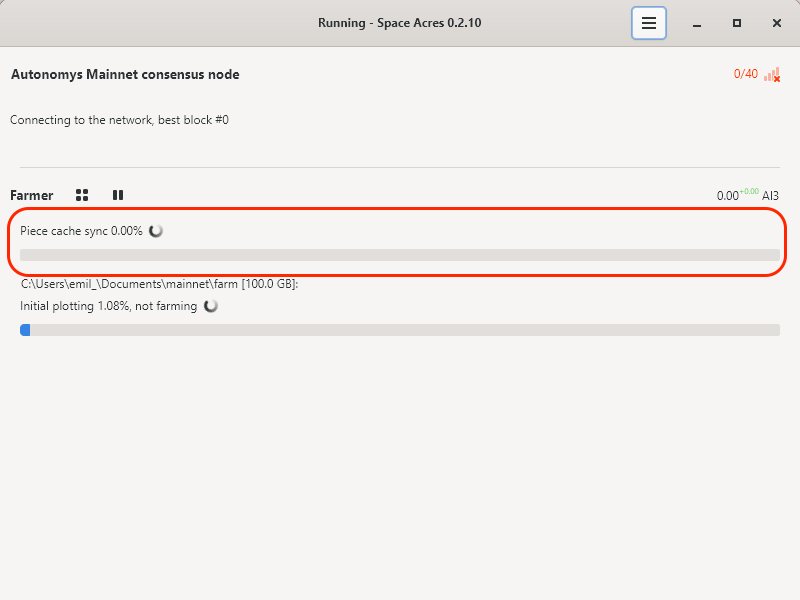
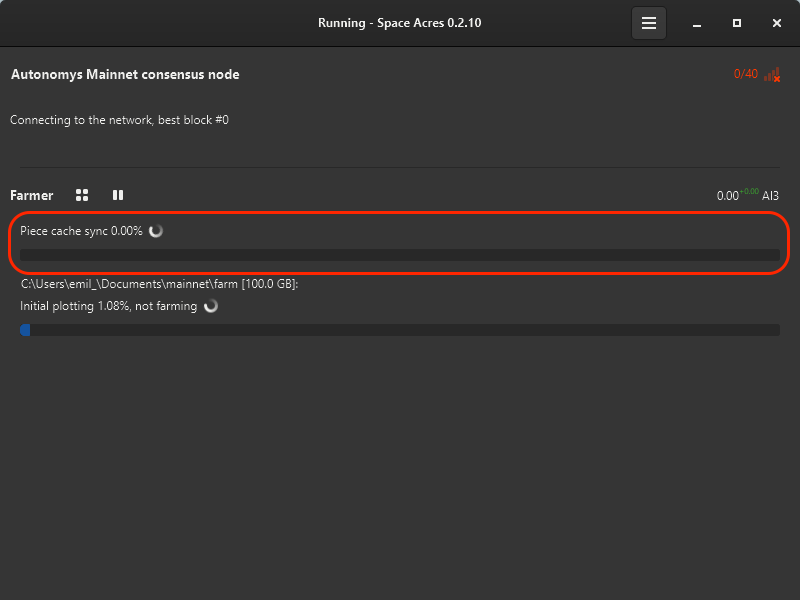
a. Cache Syncing
b. Initial Plotting
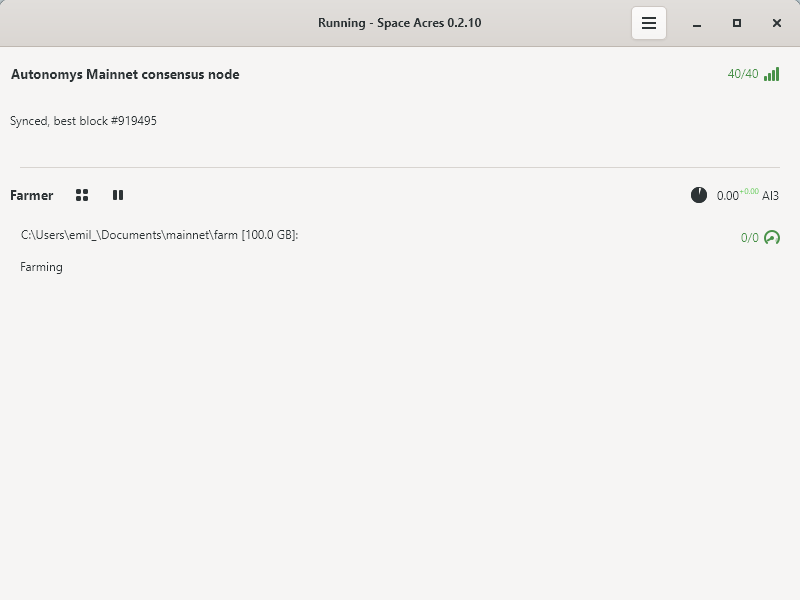
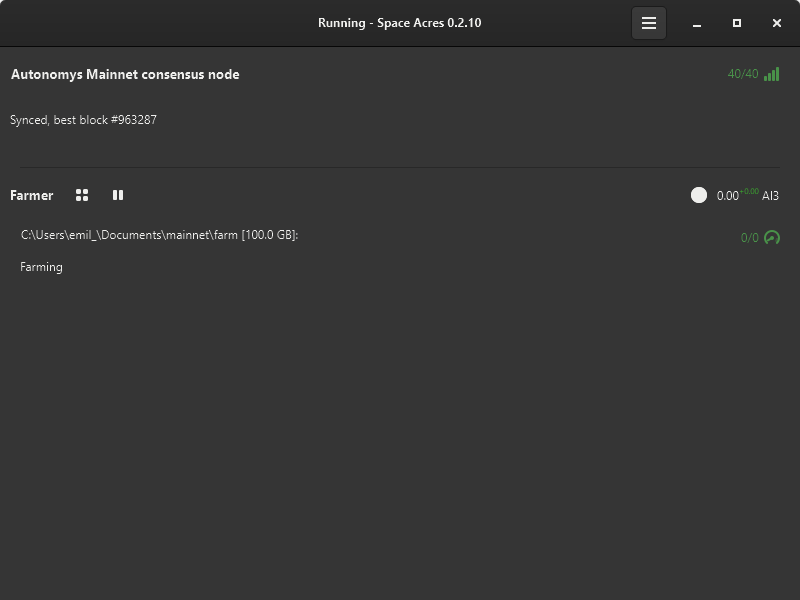
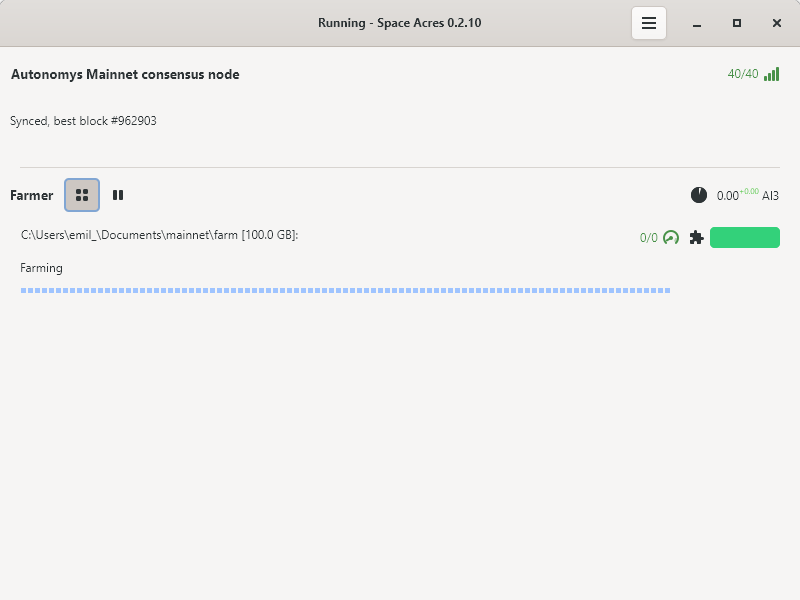
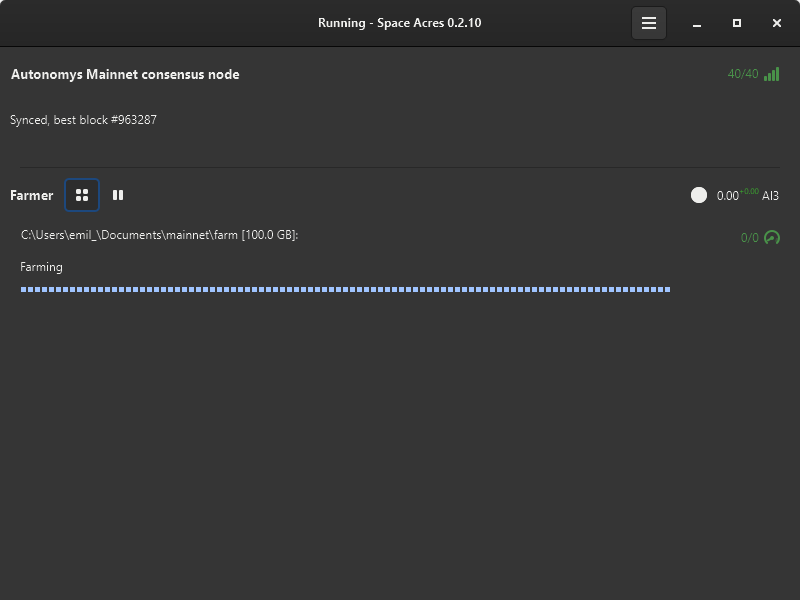
c. Plotting Complete, Now Farming
-
Once syncing and plotting are complete, you'll notice a drop in CPU and RAM usage, and the dashboard will display your earned rewards and the estimated time until the next reward.
 tip
tipYou can toggle the dashboard to view brief statistics or display all plotted sectors along with their status. The color codes of sectors are explained below. By hovering over the icons on the right, you can check the number of missed challenges, your average auditing and proving performance, and other useful stats.
Happy farming!
Understanding Your Farm
Your farm is made up of sectors that change color based on their status. For your convenience, we've provided a table detailing the color codes associated with different sector statuses. This will enhance your insight into the activities and conditions of your farm.
| Status | Color Preview | Description |
|---|---|---|
| Default | Default farm sector state | |
| Plotted | Sector is plotted | |
| About to Expire | Sector is nearing expiration | |
| Expired | Sector has expired | |
| Downloading | Sector downloading (animated) | |
| Encoding | Sector encoding data (animated) | |
| Writing | Sector writing data (animated) |
To learn more about the syncing, plotting, and farming processes on the Autonomys Network, please refer to the links below from our Autonomys Academy:
Help us improve by sharing your feedback on our releases. We’re eager to hear from you and make things better!
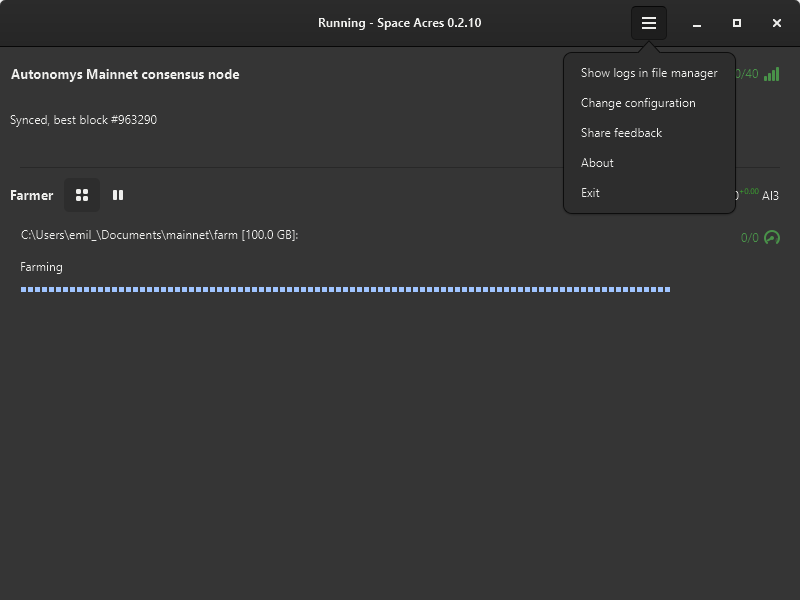
View Logs, Change Configuration, Leave Feedback
Click on the burger button menu to view the available options.

Troubleshooting
If you are facing any issues with the application, you can:
- Search the Support Forum to see if your issue has been addressed. If it's a new one, feel free to create a new post!
- Use the dedicated channel #farmer-chat on our Discord for peer-to-peer support.
- Raise an issue on our GitHub.