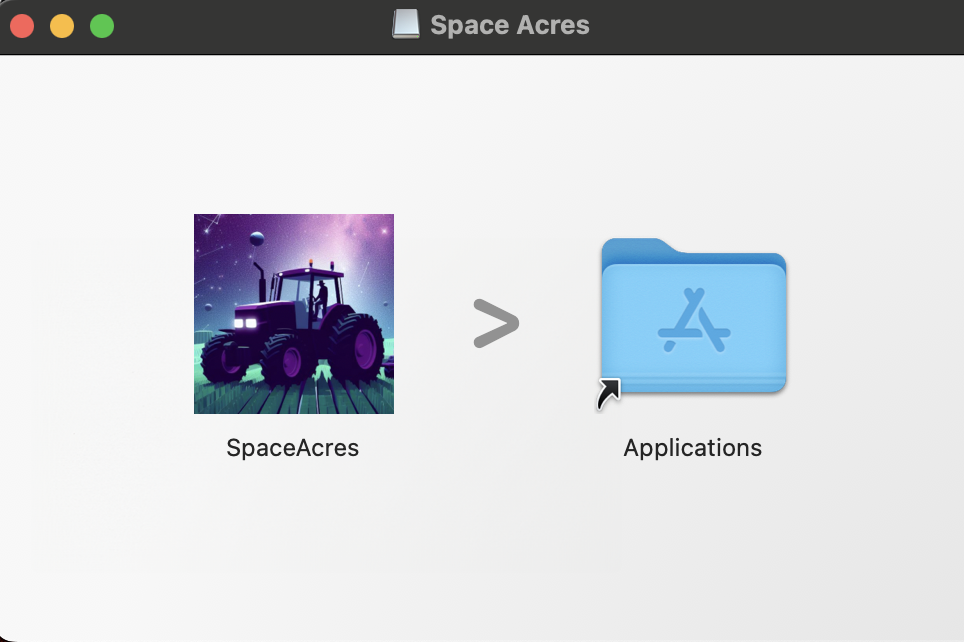
Install Space Acres
Space Acres — это рекомендуемое нами приложение для фарминга, поскольку оно упрощает начало работы с сетью Autonomys. Это удобное в использовании приложение с графическим интерфейсом предоставляет наиболее распространенные параметры настройки через интуитивно понятный визуальный интерфейс, делая фарминг доступным для всех — от начинающих пользователей до опытных, которые хотят получить более простой и удобный в использовании интерфейс.
Почему Space Acres рекомендуется:
- Простая настройка для начинающих: визуальный мастер поможет вам пройти весь процесс
- Комплексное решение: нода �и фармер объединены в одном приложении
- Мониторинг в реальном времени: наглядная панель показывает ваш прогресс в фарминге и вознаграждения
- Упрощенная конфигурация: большинство распространенных сценариев фарминга доступны через простой и удобный интерфейс
Нужны расширенные возможности? Если вам требуется несколько ферм, фарминговые кластеры или особые параметры конфигурации, недоступные в графическом интерфейсе, используйте версию для командной строки CLI.
Подготовка к работе
Убедитесь, что у Вас есть:
- Компьютер с надежным интернет-соединением.
- Достаточно свободного места на диске (мы поможем вам определить необходимый объем позже).
- Доступ администратора на вашем компьютере.
What to expect:
- Синхронизация может занять от нескольких часов до суток.
- Первоначальная синхронизация и построение графиков требуют значительных вычислительных ресурсов, поэтому ваш компьютер может работать медленнее при выполнении повседневных задач до их завершения.
Пожалуйста, обратите внимание, что для запуска программного обеспечения требуется кошелек с Substrate адресом.
Чтобы узнать, как создать кошелек Substrate, пожалуйста, посетите наши страницы SubWallet (рекомендуется) или расширение {polkadot.js}.
Чтобы обеспечить нормальную связь между Space Acres и другими пирами, пробросьте порты 30333 и 30433 на маршрутизаторе на компьютер, на котором запущен Space Acres. Более подробную информацию см. в руководстве [Port Forwarding Guide] (https://docs.autonomys.xyz/farming/guides/port-config#ports-to-forward--firewall-access).
Видео по установке
Для тех, кто предпочитает наглядное руководство, мы подготовили видеоролики по установке. Эти видео помогут настроить Space Acres. Если Вы предпочитаете подробные текстовые инструкции, перейдите к Шагу 1.
- Ubuntu
- Windows
- macOS
Шаг 1: Скачайте и установите Space Acres
- Ubuntu
- Windows
- macOS
Скачивание инсталлятора Space Acres или портативного приложения
В настоящее время есть два способа использовать Space Acres на Linux:
- установка пакета
.debна Ubuntu (рекомендуется) - прямой запуск пакета
.AppImageна любом современном дистрибутиве Linux (включая Ubuntu, если хотите)
Установка Space Acres
Вы можете установить приложени�е, используя программу инсталлятора (.deb), или запустить портативное приложение (.Appimage).
Установщик Ubuntu (.deb) (рекомендуется)
-
Чтобы установить приложение, откройте терминал и выполните следующие команды, чтобы перейти в каталог загрузок и установить приложение
cd Downloads
sudo apt install ./space-acres*.deb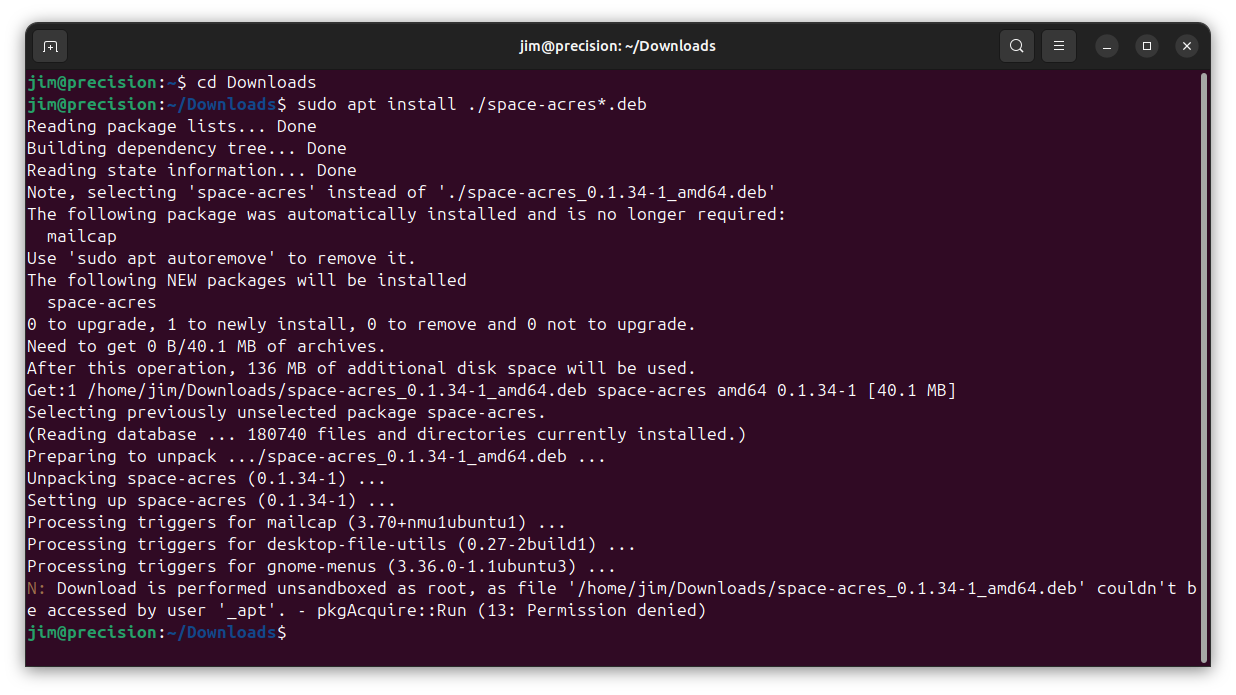
Replace
Downloadswith the correct name of downloads directory if you have non-English Ubuntu installation or if you downloaded file into a custom location. In case you have multiple versions of Space Acres downloaded, you might want to replacespace-acres*.debwith a full name of the file you've downloaded. Or go toDownloadsdirectory and double-click the application to start the installation process -
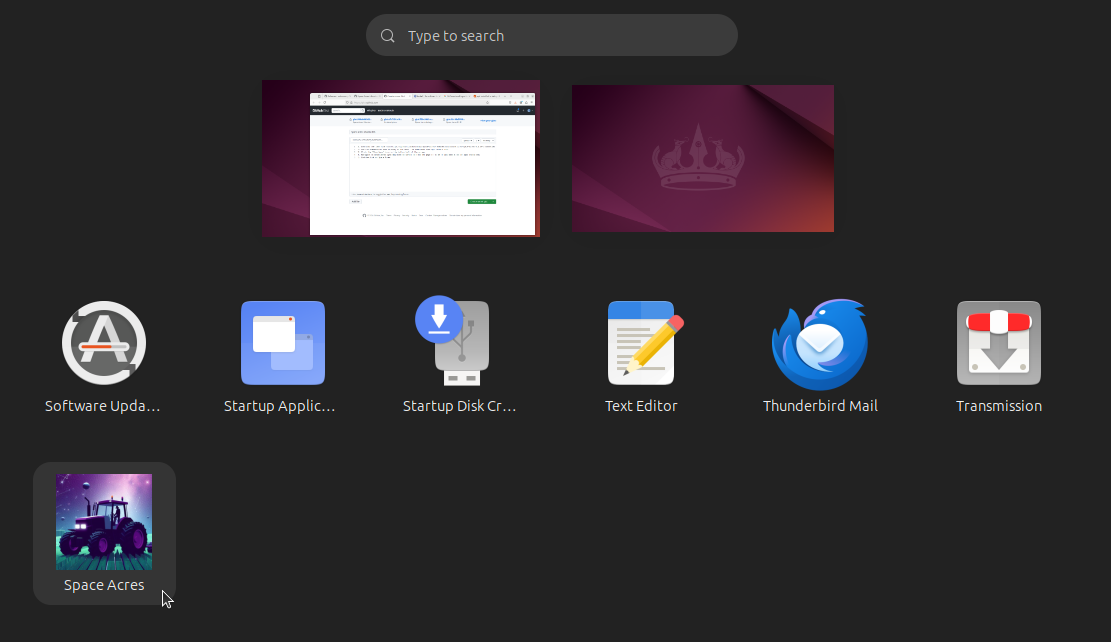
Нажмите на значок «Show Apps» в нижнем левом углу экрана

-
Перейдите к Space Acres (возможно, понадобится прокрутить страницу, если у Вас установлено много приложений).
-
Дважды щелкните на Space Acres и приложение запустится
Портативное приложение (.AppImage)
-
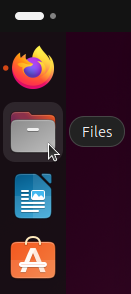
Откройте приложение "Files".
-
Нажмите на папку Downloads, чтобы открыть ее
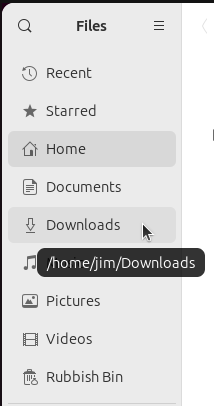
-
Щелкните правой кнопкой мыши на .AppImage и выберите "properties".
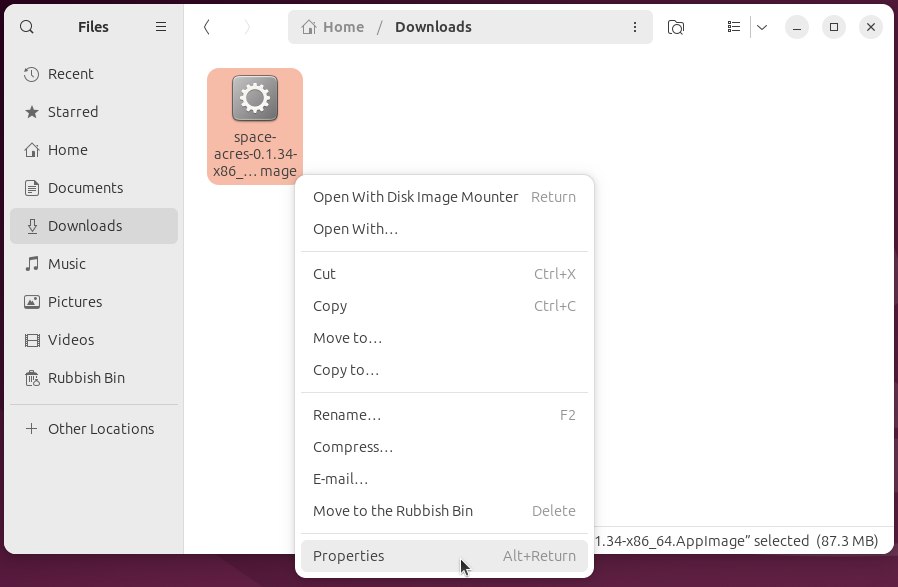
-
Включите опцию "Executable as program".
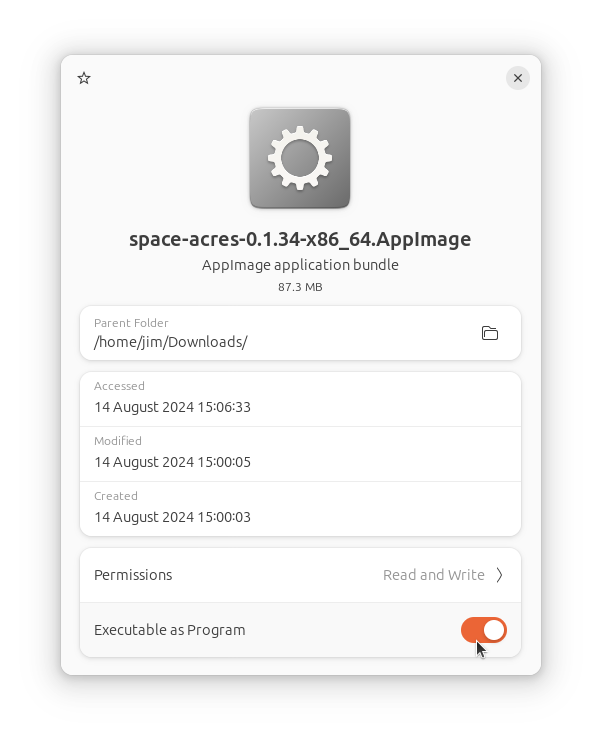
-
Закройте окно свойств
-
Дважды щелкните на .AppImage и Space Acres запустится
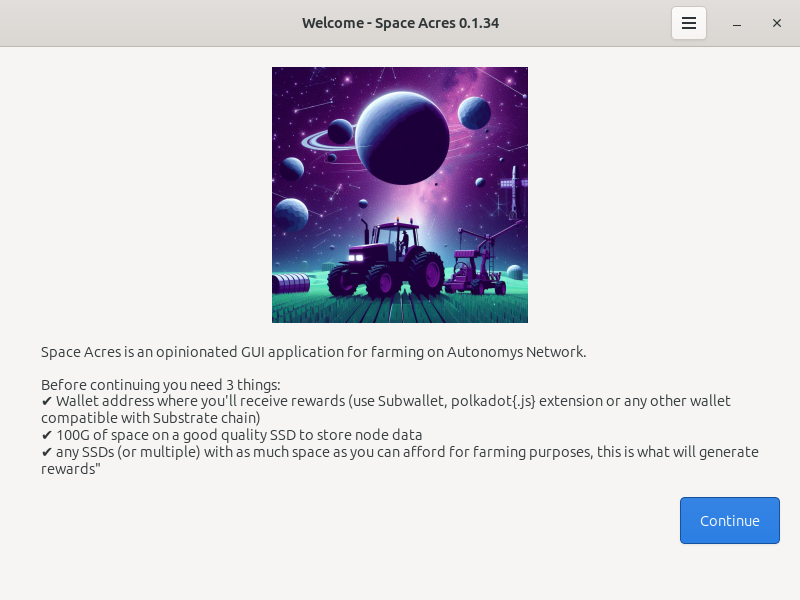
Загрузка инсталлятора Space Acres
Установка Space Acres
-
Откройте загруженный установщик Space Acres для запуска Мастера установки. Этот мастер проведет вас через процесс установки.
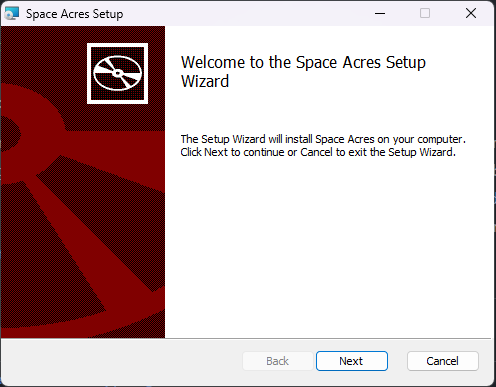
-
Выберите свои предпочтения по установке, такие как папка назначения и необходимость создания ярлыков. Вы также можете выбрать запуск Space Acres при старте системы.
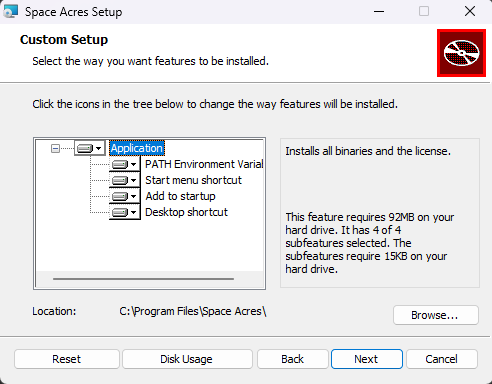
-
Просмотрите свои настройки и нажмите
Установитьдля начала установки. Мастер затем установит Space Acres на вашу систему.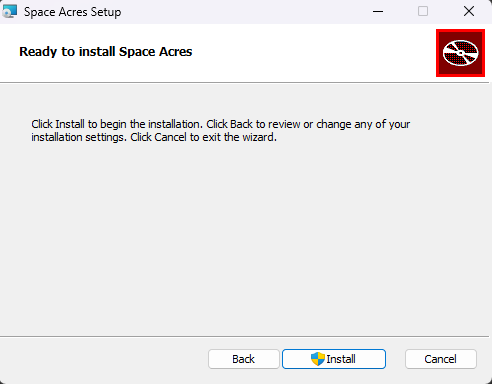
-
Прогресс установки будет отображаться, показывая статус копирования новых файлов.
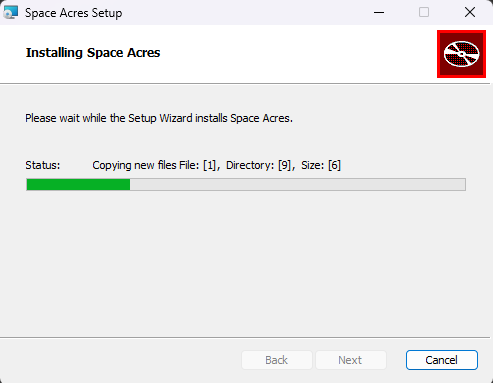
-
После завершения установки вы увидите экран завершения, где вы можете выбрать возможность немедленного запуска Space Acres, поставив галочку перед нажатием на кнопку «Завершить».
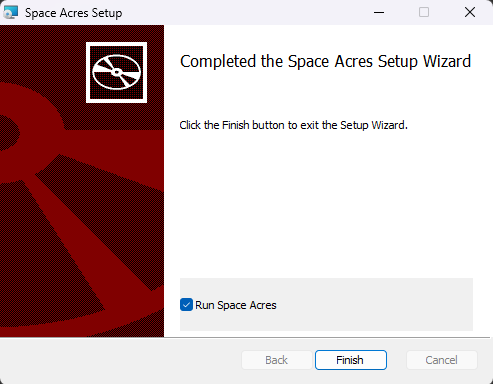
Шаг 2: Настройте Space Acres
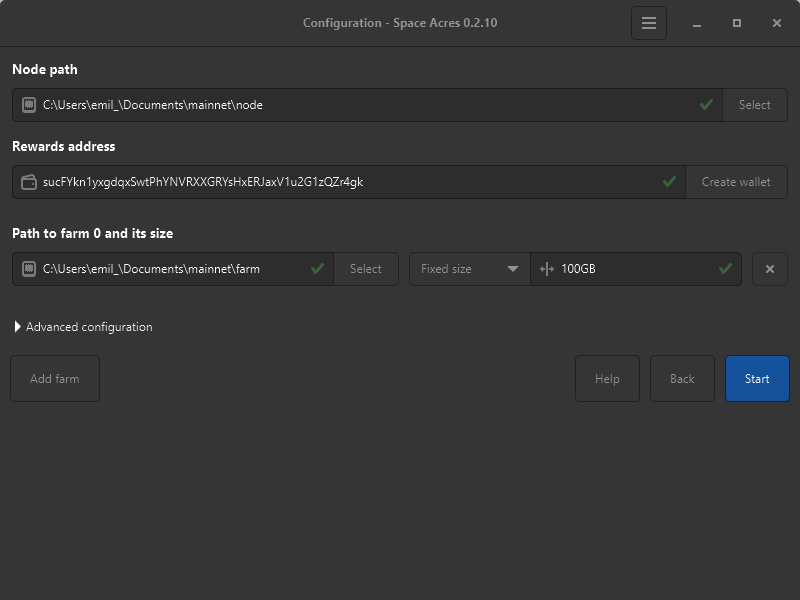
Теперь наступает самое интересное - создание Вашей фермы! Вот что Вы увидите на первом экране:
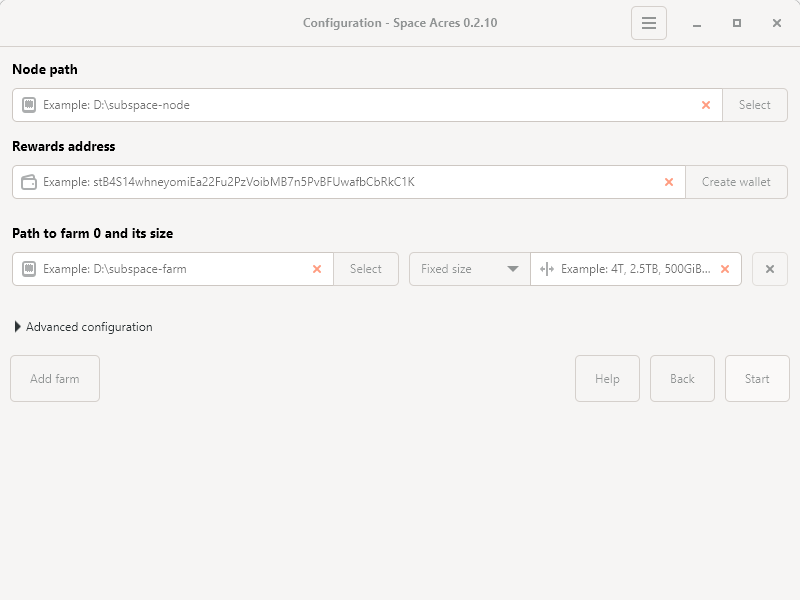
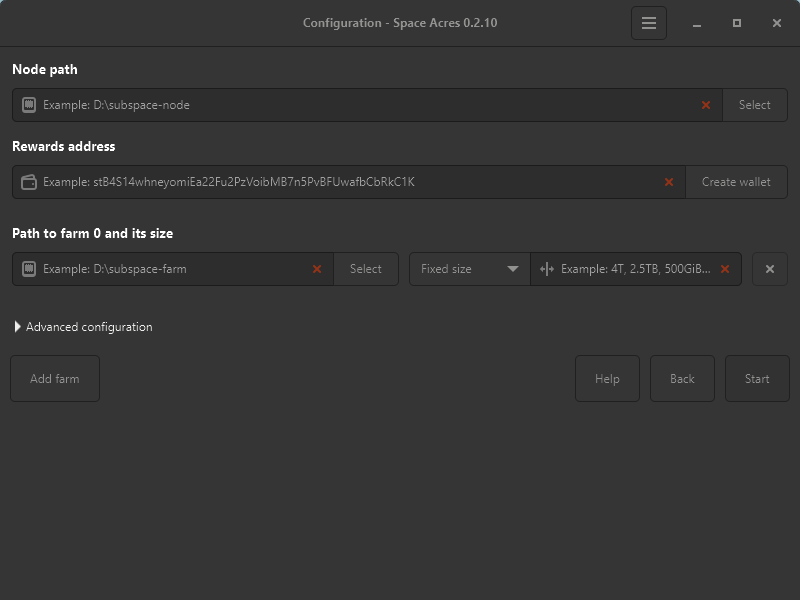
-
Путь для узла:
- Здесь Space Acres будет хранить важные данные.
- Выберите место с большим количеством свободного пространства, например,
/Documents.
-
Адрес для наград:
- Сюда будут отправляться Ваши вознаграждения за фарминг.
- Если у вас его нет, нажмите Создать кошелек.
- Адрес начинается с s для Talisman, FoxWallet, SubWallet и с 5 для {Polkadot.js}.
-
Путь к ферме 0 и его размер:
- Здесь будут храниться Ваши плоты (данные для фарминга).
- Размер определяет вашу вероятность получения вознаграждения в сети. В большинстве случаев фермы большего размера приносят больше вознаграждений.
- Размер можно задать как фиксированное значение, например, 4TiB или 8TiB, или как процент от доступного дискового пространства.
- Если Вы предпочитаете иметь несколько ферм (например, у Вас есть место на разных SSD дисках), можно нажать на Add farm, чтобы предоставить дополнительное дисковое пространство.
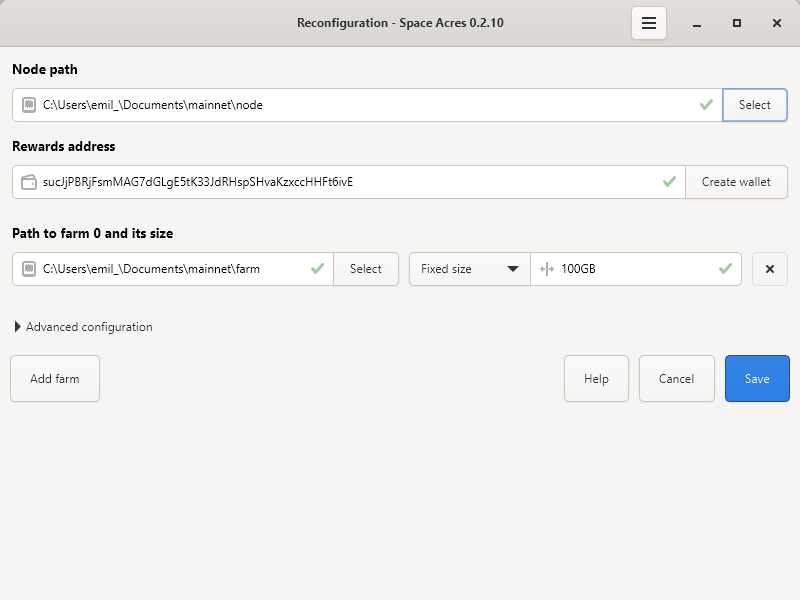
 подсказка
The screen above is an example. Use your own Node path, Rewards address, Path to farm 0 and its size, and Fixed size / Disk space percentage values
-
Расширенная конфигурация (необязательна):
- Переключить Снизить нагрузку на процессор при построении секторов (выберите, если компьютер для фарминга используется для других задач).
- Измените стандартные порты блокчейна и DSN P2P.
- Включите Ускоренное подключение к сети (может увеличиться нагрузка на маршрутизатор).
подсказкаNo need to adjust unless you are an experienced user.
For a comprehensive list of prerequisites and explanations, refer to our Getting Started Guide.
информацияYour screen may look slightly different depending on your operating system, but the basic information required will be the same.
Шаг 3: Начните фармить
- После ввода информации нажмите кнопку "Start**.
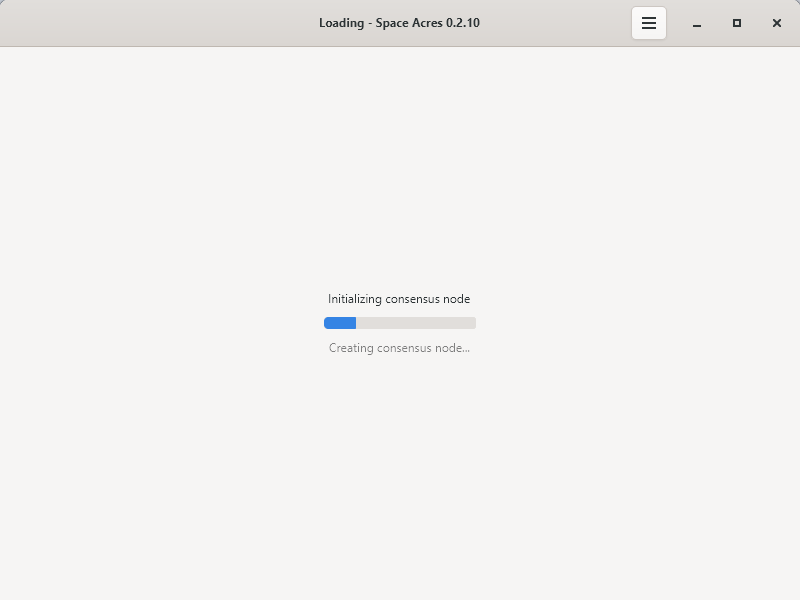
- Space Acres настроит ваш узел и подключится к сети Autonomys.
- Прогресс-бары покажут синхронизацию и создание секторов.
-
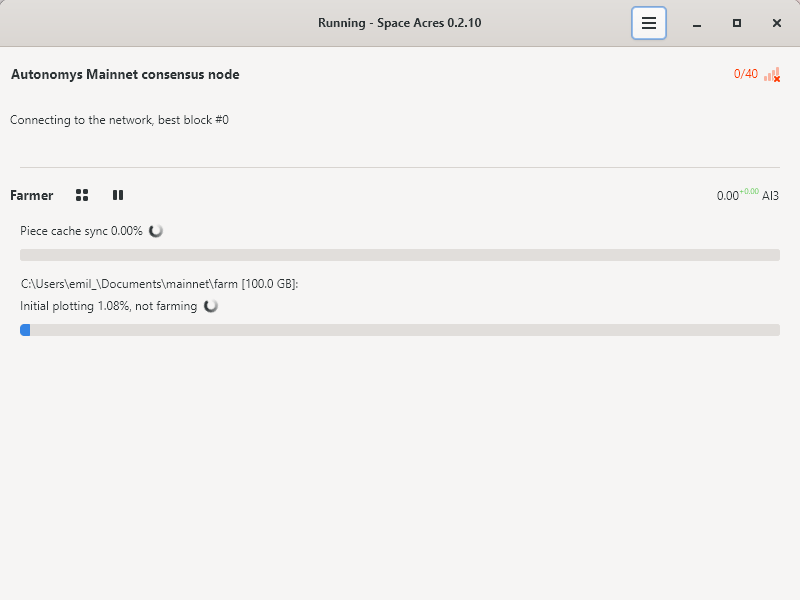
Когда все будет готово, Вы увидите главную панель Space Acres, где сможете следить за своим процессом фарминга.
-
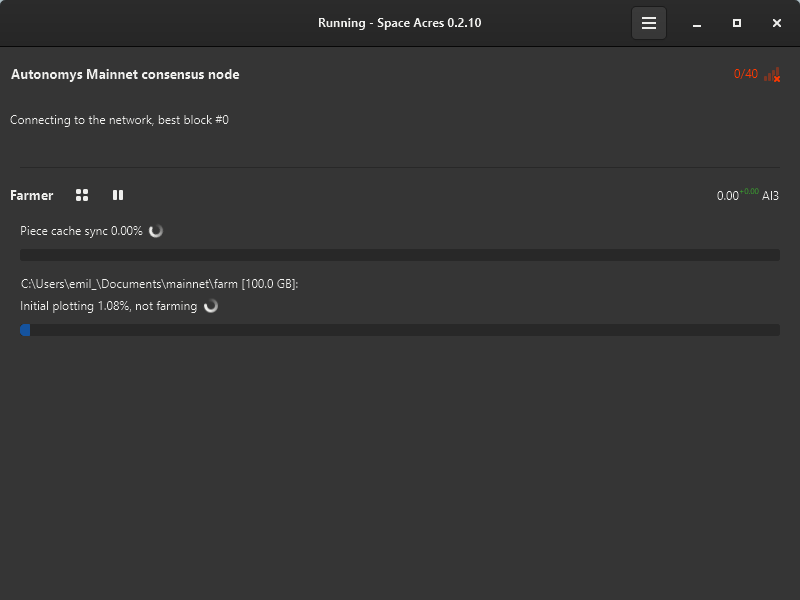
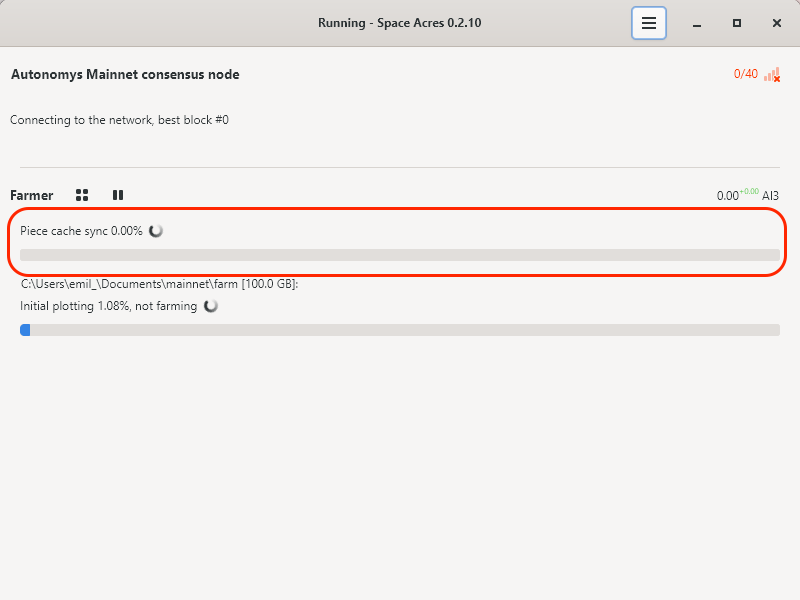
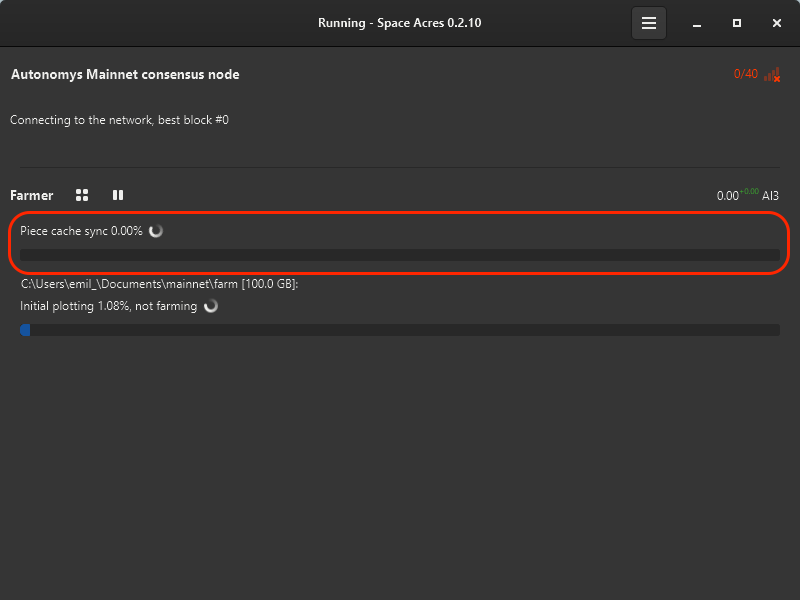
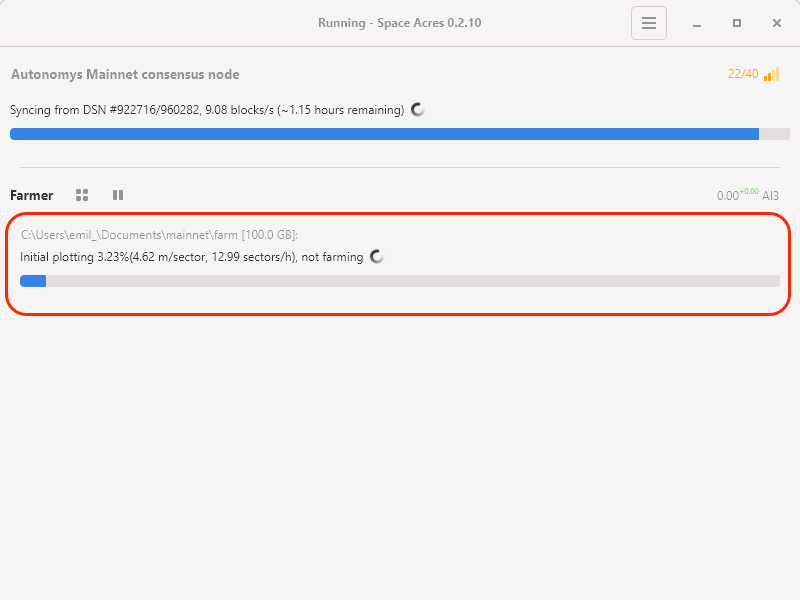
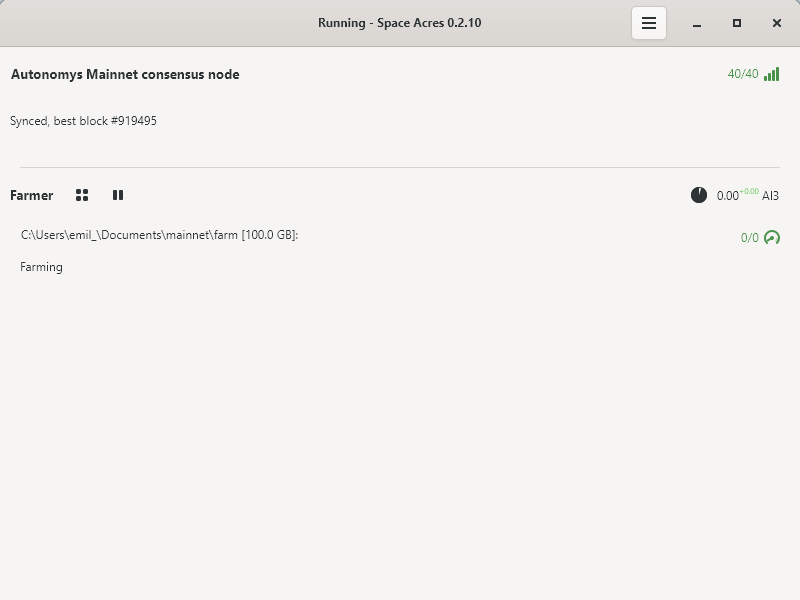
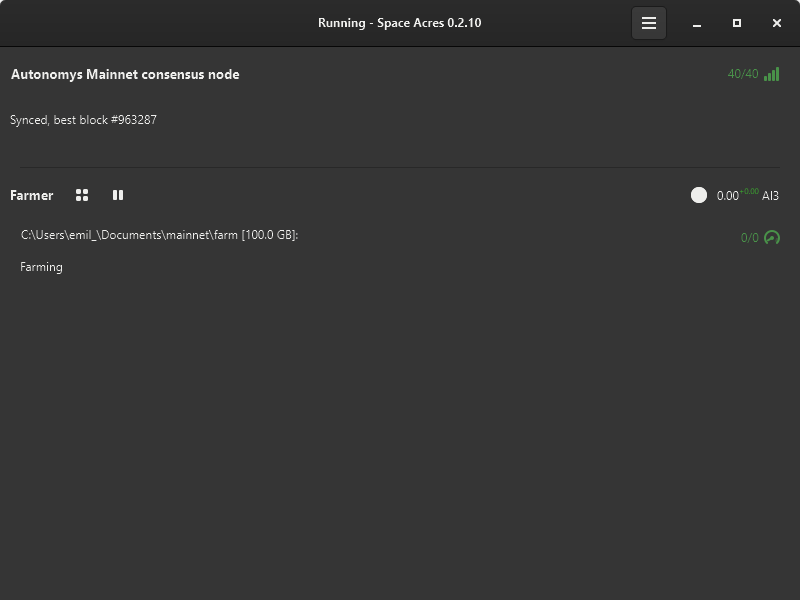
Первоначальная синхронизация и построение графиков может занять от нескольких часов до нескольких дней, в зависимости от аппаратного обеспечения, скорости сети и размера фермы. Ниже приведены примеры различных этапов, которые вы можете ожидать.
a. Синхронизация кэша
b. Первоначальный плоттинг
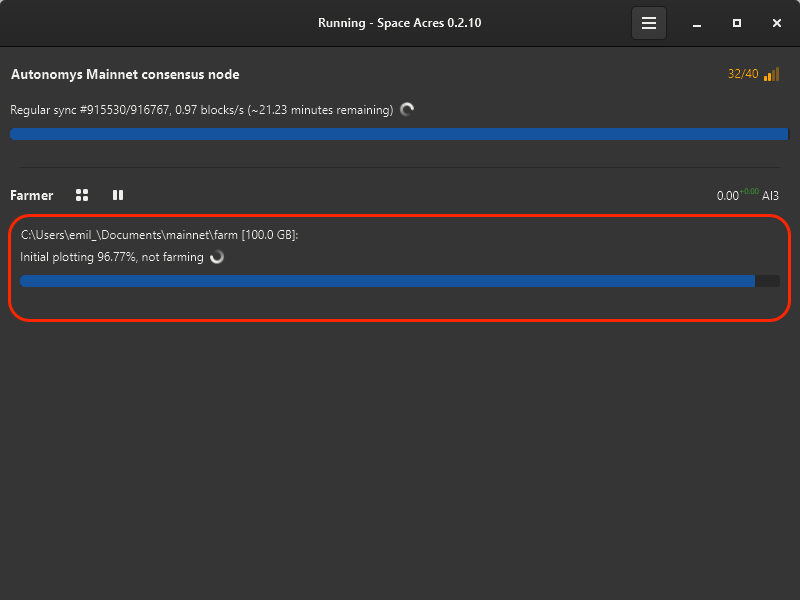
c. Плоттинг завершен, теперь идет фарминг
-
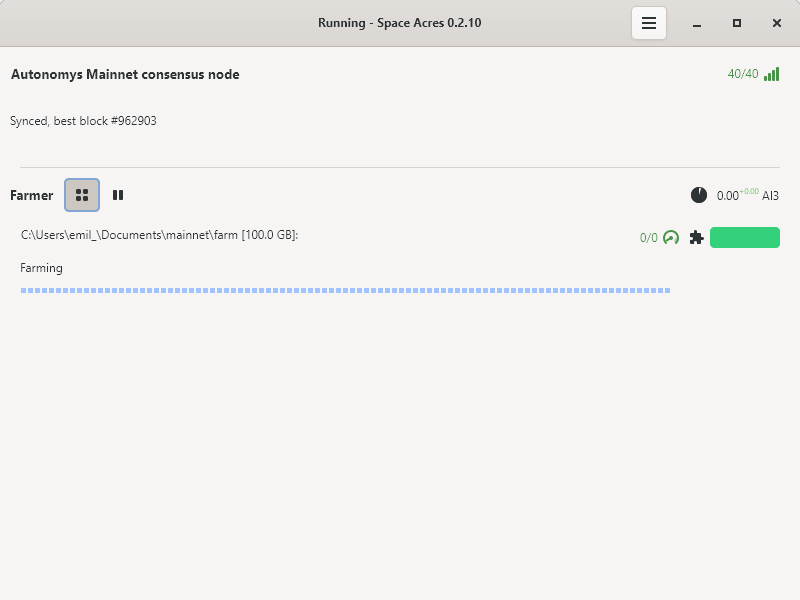
После завершения синхронизации и плоттинга Вы заметите снижение загрузки процессора и оперативной памяти, а на панели будут отображаться заработанные Вами награды и предполагаемое время до получения следующей награды.
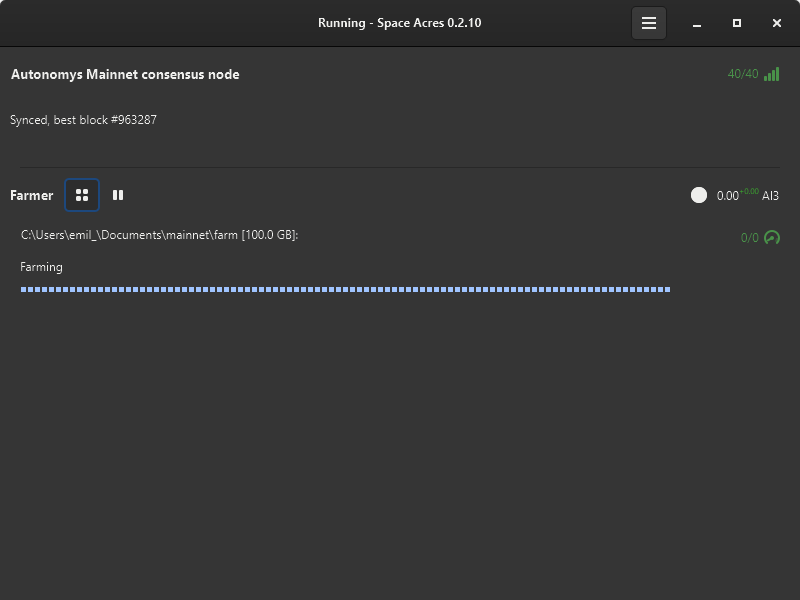 подсказка
You can toggle the dashboard to view brief statistics or display all plotted sectors along with their status. The color codes of sectors are explained below. By hovering over the icons on the right, you can check the number of missed challenges, your average auditing and proving performance, and other useful stats.
Удачного фарминга!
Понимание своей фермы
Ваша ферма состоит из секторов, цвет которых меняется в зависимости от их состояния. Для удобства мы привели таблицу с подробным описанием цветовых кодов, связанных с различными состояниями секторов. Это поможет лучше понять процессы и состояния Вашей фермы.
| Status | Образец цвета | Description |
|---|---|---|
| Default | Default farm sector state | |
| Plotted | Sector is plotted | |
| About to Expire | Sector is nearing expiration | |
| Expired | Sector has expired | |
| Downloading | Sector downloading (animated) | |
| Encoding | Sector encoding data (animated) | |
| Writing | Sector writing data (animated) |
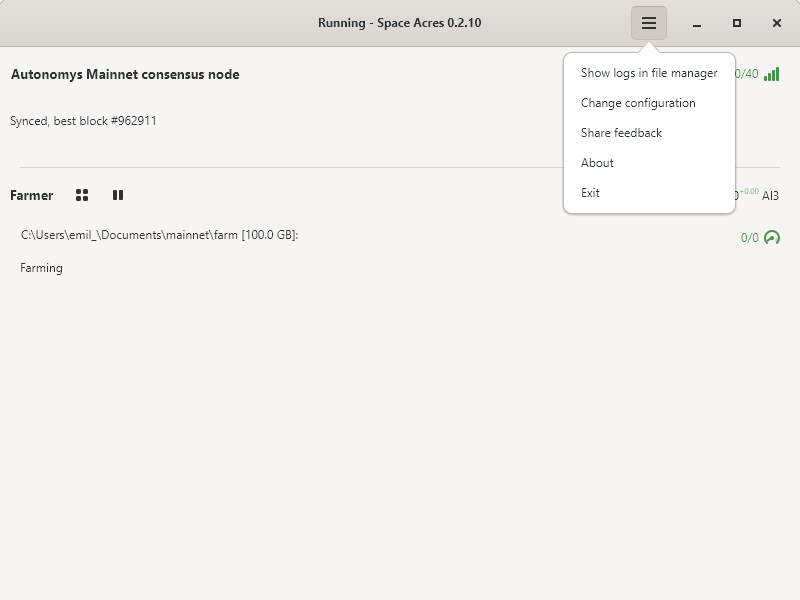
Помогите нам стать лучше, поделившись своими отзывами о наших релизах. Мы будем рады услышать вас и сделать все лучше!
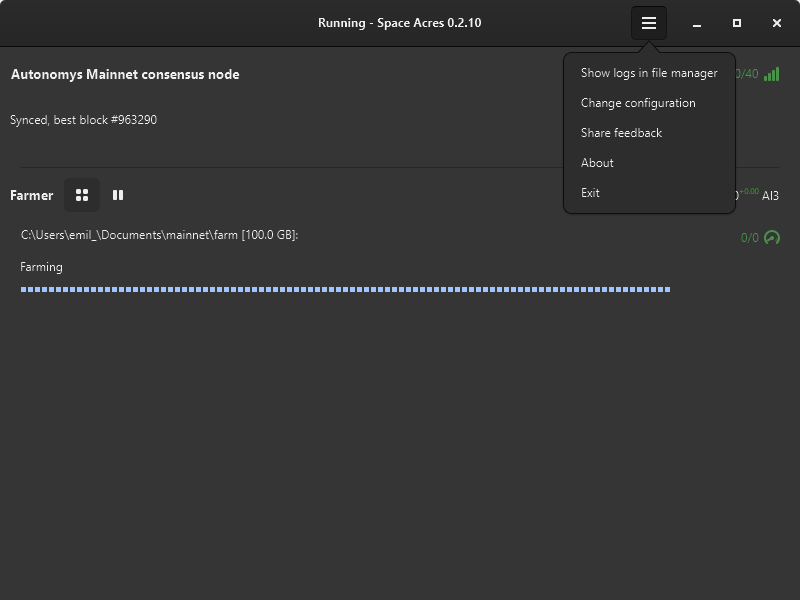
Просмотр журналов, изменение настроек, отзывы
Click on the burger button menu to view the available options.
Решение проблем
Если возникли какие-либо проблемы с приложением, Вы можете:
- Поискать на форуме поддержки, возможно, Ваш вопрос уже был решен. Если это новый вопрос, не стесняйтесь создать новое сообщение!
- Использовать специальный канал #farmer-chat на нашем Discord для взаимной поддержки.
- Поднять проблему на нашем GitHub.
