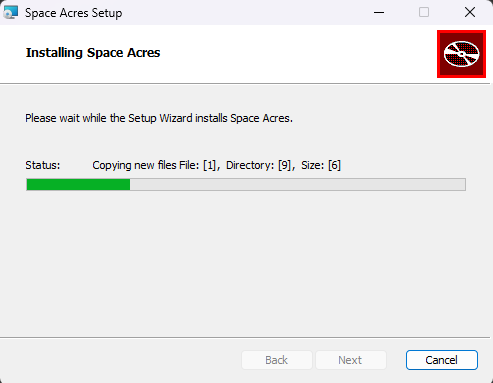
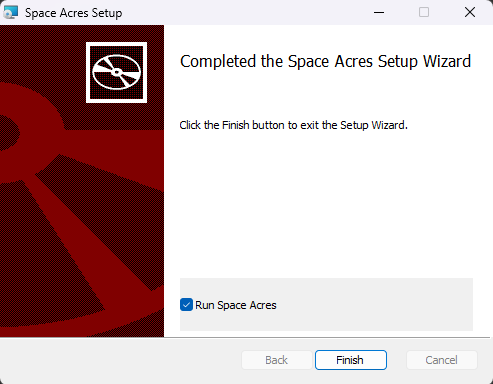
Install Space Acres
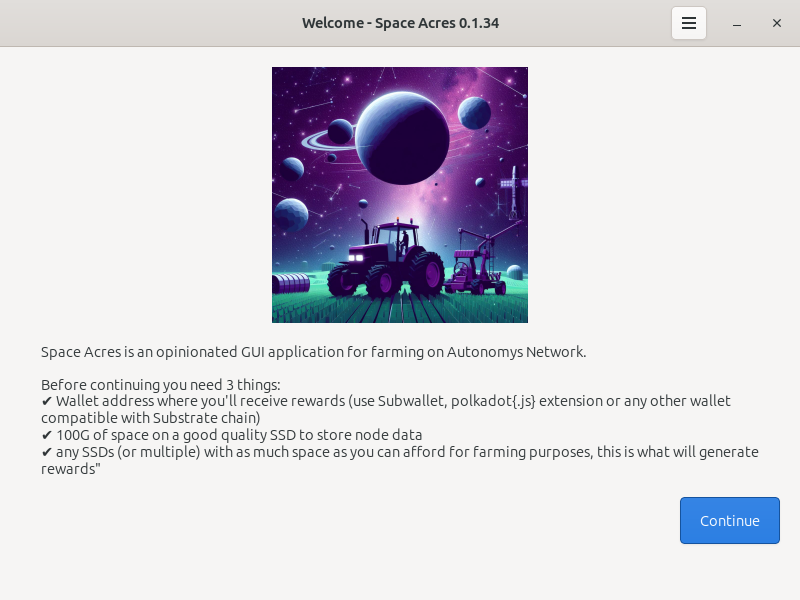
Space Acres is our recommended farming application because it simplifies getting started with the Autonomys Network. As a user-friendly GUI application, it provides the most common configuration options through an intuitive visual interface, making farming accessible to everyone—from complete beginners to experienced users who want a streamlined experience.
Why Space Acres is recommended:
- Beginner-friendly setup: Visual wizard guides you through the entire process
- All-in-one solution: Node and farmer combined in a single application
- Real-time monitoring: Visual dashboard shows your farming progress and rewards
- Simplified configuration: Most common farming scenarios covered through easy-to-use interface
Need more advanced features? If you require multiple farms, farming clusters, or specialized configuration options not available in the GUI, consider the CLI instead.
开始之前
确保您具备以下条件:
- 一台具有可靠互联网连接的计算机。
- Enough free disk space (we'll help you determine the required amount later).
- Administrator access on your computer.
What to expect:
- Syncing might take from a few hours up to a day.
- The initial syncing and plotting require substantial computational resources, so your computer might run slower for daily tasks until completion.
请注意,运行该软件需要一个具有Substrate地址的钱包。
要了解如何创建Substrate钱包,请访问我们关于 SubWallet(推荐) 或 {polkadot.js} 扩展
To ensure proper communication between Space Acres and other peers, forward ports 30333 and 30433 on your router to the PC running Space Acres. For more details, refer to the Port Forwarding Guide.
安装视频
对于那些喜欢视频类指南的用户,我们已为您准备了安装视频。这些视频将帮助您设置Space Acres。如果您更喜欢详细的文字说明,请继续查看 步骤1。
- Ubuntu
- Windows
- macOS
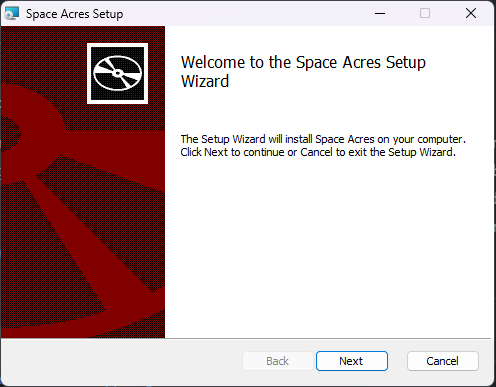
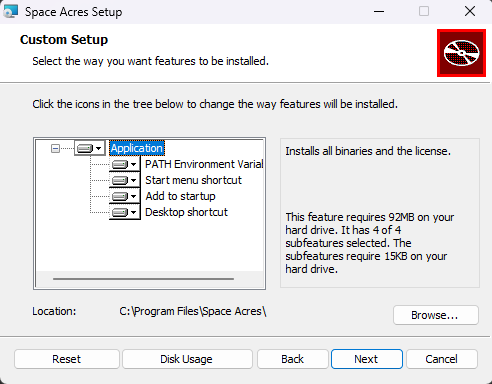
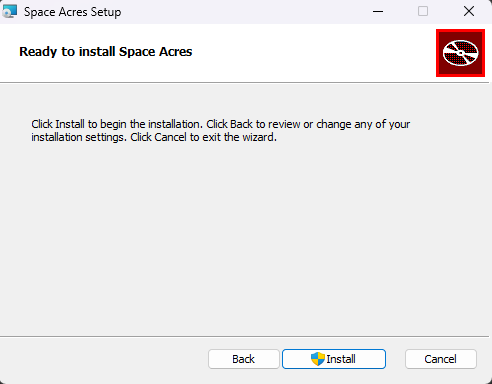
步骤1:下载并安装Space Acres
- Ubuntu
- Windows
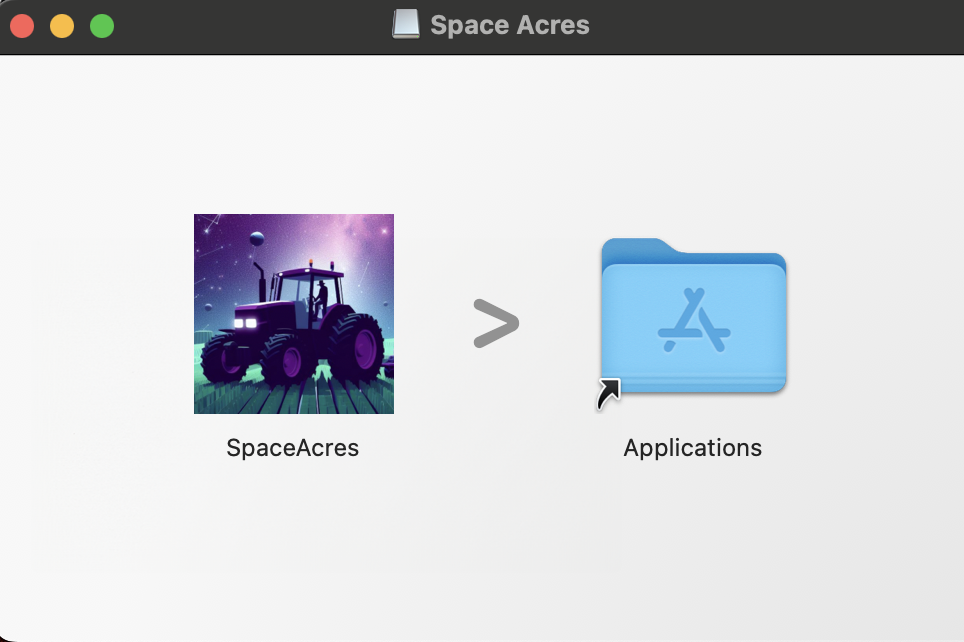
- macOS
下载Space Acres安装程序或便携应用
目前,有两种方法可以在Linux上安装Space Acres:
- 安装Ubuntu的.deb包(推荐)
- 直接在任何现代Linux发行版上运行.AppImage捆绑包(包括Ubuntu,如果您愿意的话)
安装Space Acres
您可以使用提供的 (.deb)安装程序安装应用程序,或运行便携应用程序 (.Appimage)。
Ubuntu安装程序 (.deb) (推荐)
-
To install the app, open terminal and run the following commands to switch to downloads directory and install an app
cd Downloads
sudo apt install ./space-acres*.deb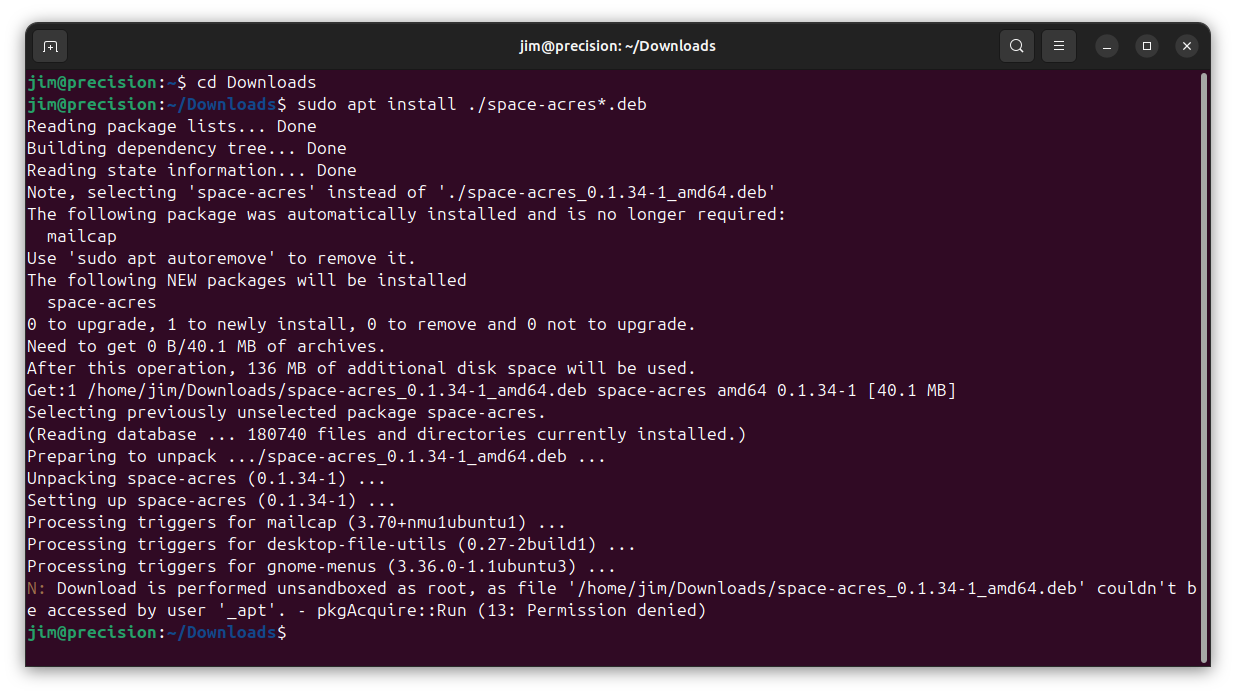
Replace
Downloadswith the correct name of downloads directory if you have non-English Ubuntu installation or if you downloaded file into a custom location. In case you have multiple versions of Space Acres downloaded, you might want to replacespace-acres*.debwith a full name of the file you've downloaded. Or go toDownloadsdirectory and double-click the application to start the installation process -
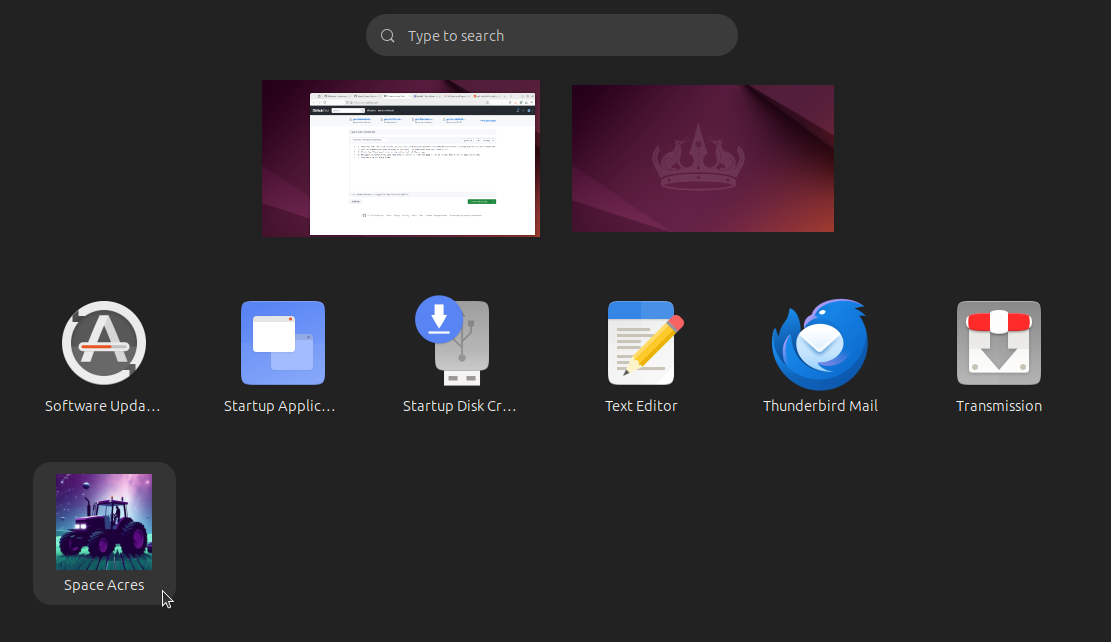
点击屏幕左下角的“显示应用”图标。

-
前往Space Acres应用程序(如果您安装了很多应用,可能需要滚动鼠标才能找到它所在的页面)。
-
双击Space Acres,应用程序将启动。
便携应用(.AppImage)
-
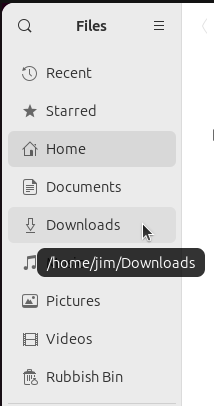
打开文“File”(文件)应用程序。

-
点击打开“Downloads”(下载)文件夹。
-
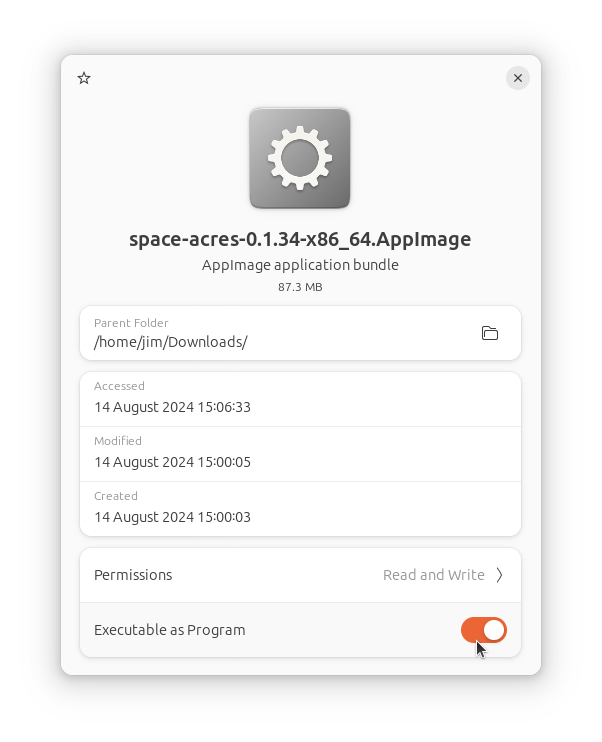
右键点击 .AppImage 文件并选择“Properties”(属性)。

-
将“Executable as program”选项切换为开启状态。
-
关闭Properties(属性)窗口。
-
双击 .AppImage,Space Acres 将启动。
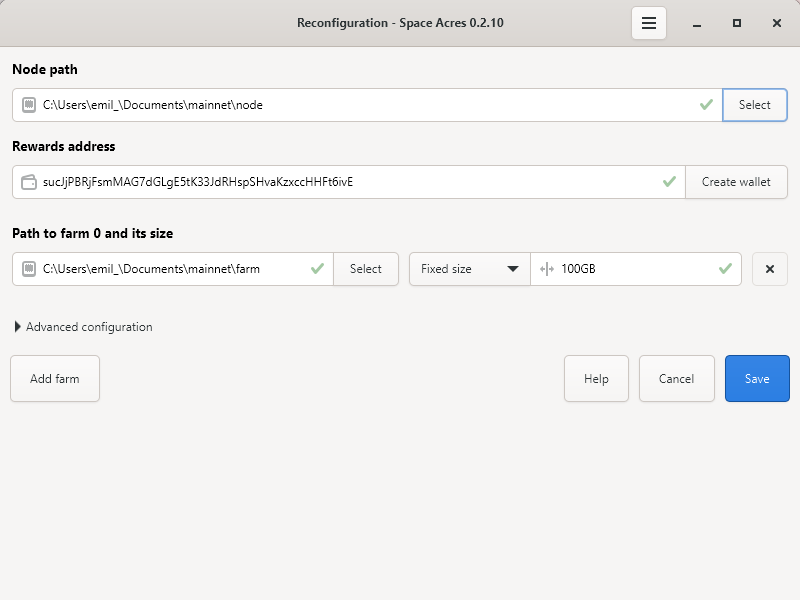
步骤2:设置Space Acres
现在进入激动人心的部分——设置您的农场!以下是您在第一个屏幕上看到的内容:
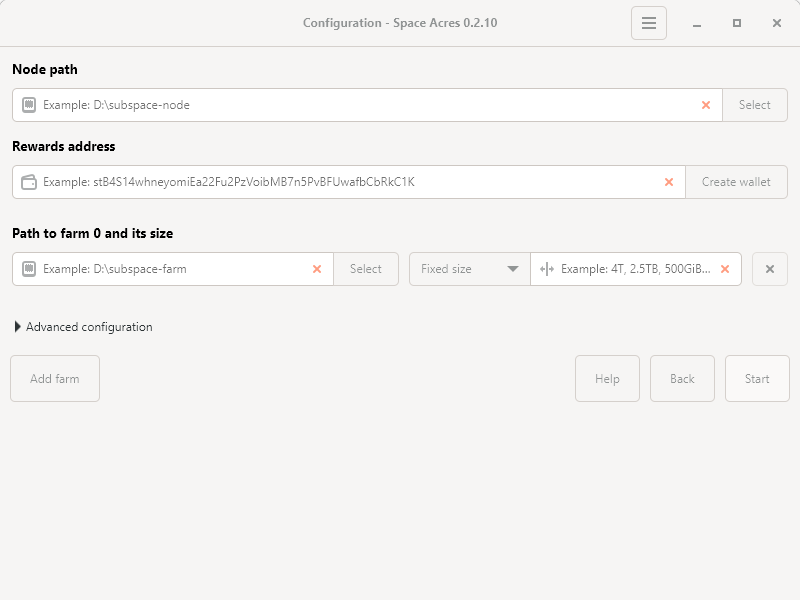
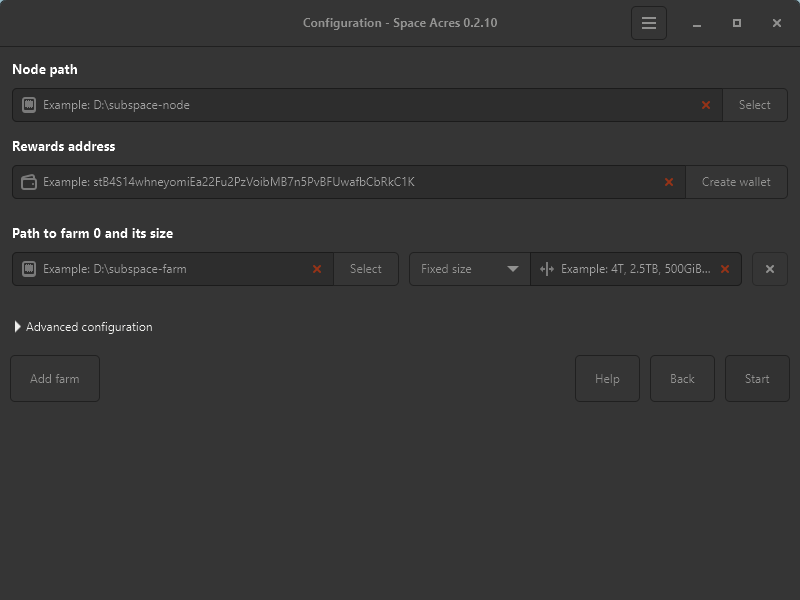
-
Node path:
- 这将是Space Acres存储重要数据的地方。
- Choose a location with plenty of free space, e.g.,
/Documents.
-
Rewards address:
- 这是您的收益耕作奖励将被发送到的地址。
- If you don't have one, click Create wallet.
- The address starts with an s for Talisman, FoxWallet, SubWallet, and with 5 for {Polkadot.js}.
-
Path to Farm 0 and its size:
- This is where your farms (farming data) will be stored.
- The size determines your probability of getting a reward on the Network. In most cases, larger farms will gain you more rewards.
- The size could be set as a fixed size, e.g. 4TiB, or 8TiB, or as a percentage value of the available disk space.
- 如果您希望拥有几个农场(例如,您在不同的SSD驱动器上有一些闲置空间),可以点击“Add farm”来添加额外的存储空间。
 提示
提示The screen above is an example. Use your own Node path, Rewards address, Path to farm 0 and its size, and Fixed size / Disk space percentage values
-
高级配置(可选):
- Toggle Reduce plotting CPU load (select if using the farming PC for other tasks).
- Modify default blockchain and DSN P2P ports.
- Toggle Faster Networking (may increase router load).
提示No need to adjust unless you are an experienced user.
For a comprehensive list of prerequisites and explanations, refer to our Getting Started Guide.
信息Your screen may look slightly different depending on your operating system, but the basic information required will be the same.
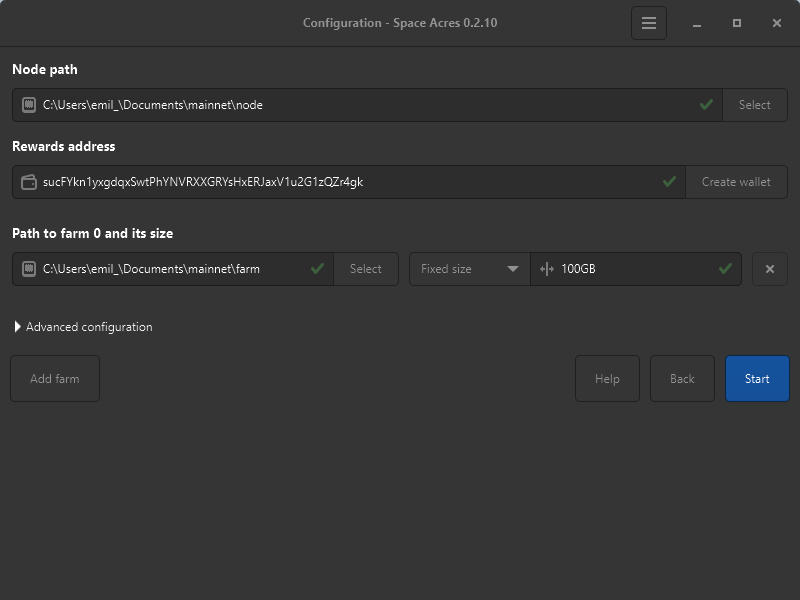
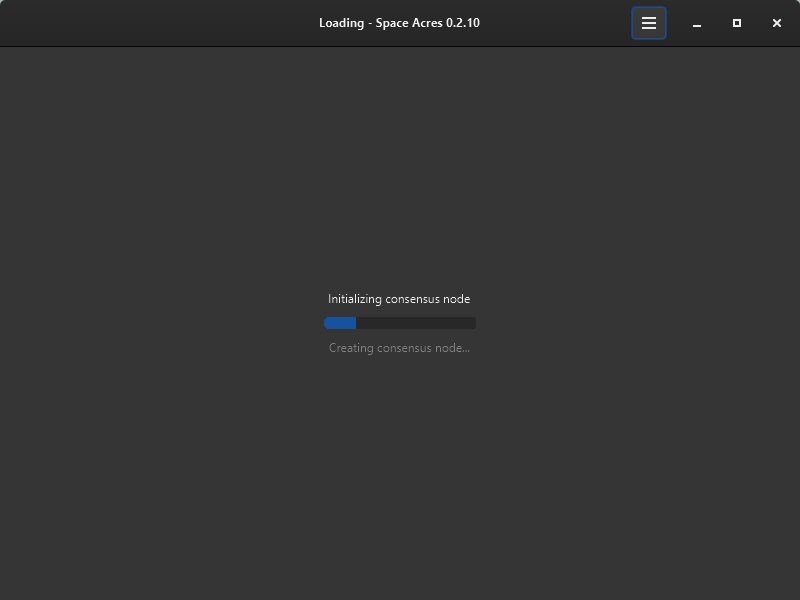
步骤3:开始收益耕作
- 输入您的信息后,点击Start。
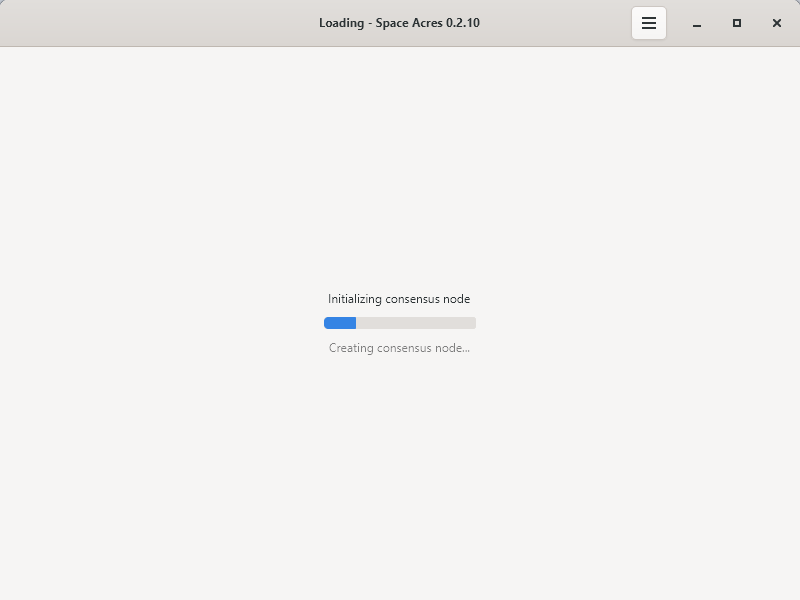
- Space Acres will set up your node and connect to the Autonomys Network.
- Progress bars will show syncing and plot creation.
-
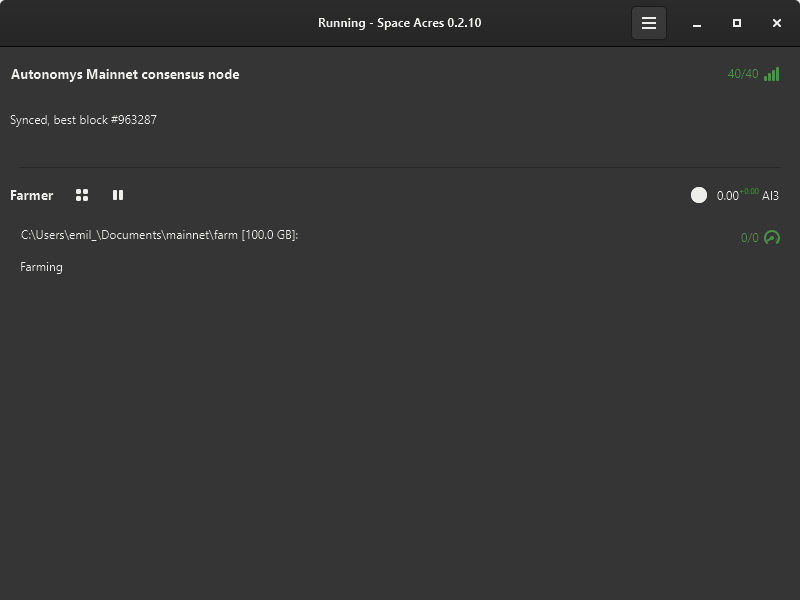
一切准备就绪后,您将看到Space Acres Dashboard,您可以监控您的收益耕作活动。
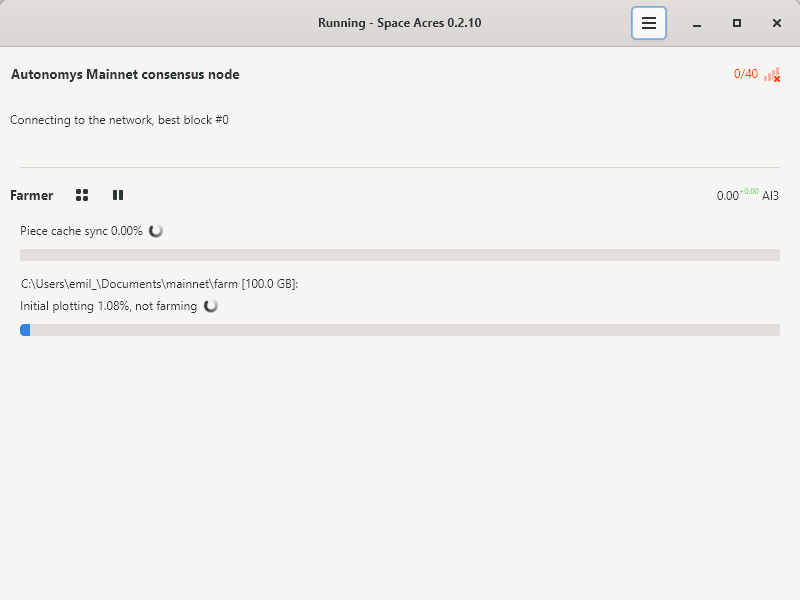
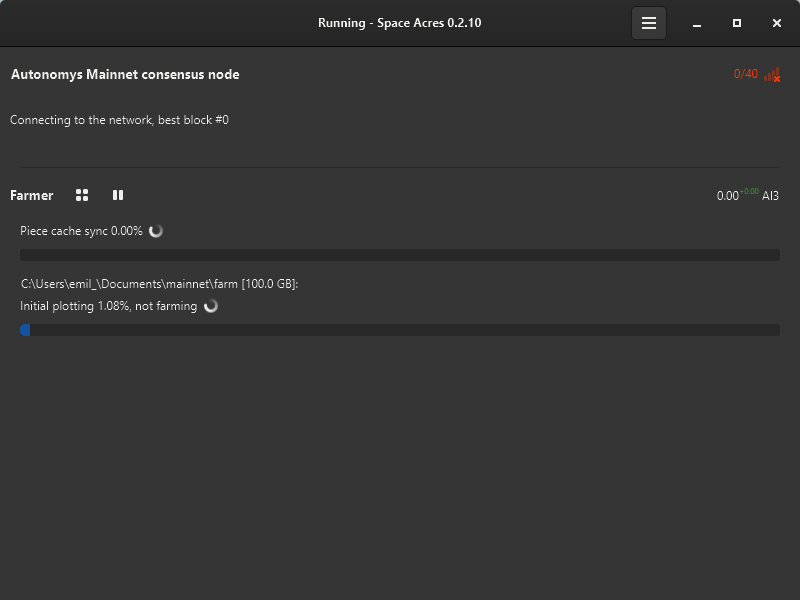
-
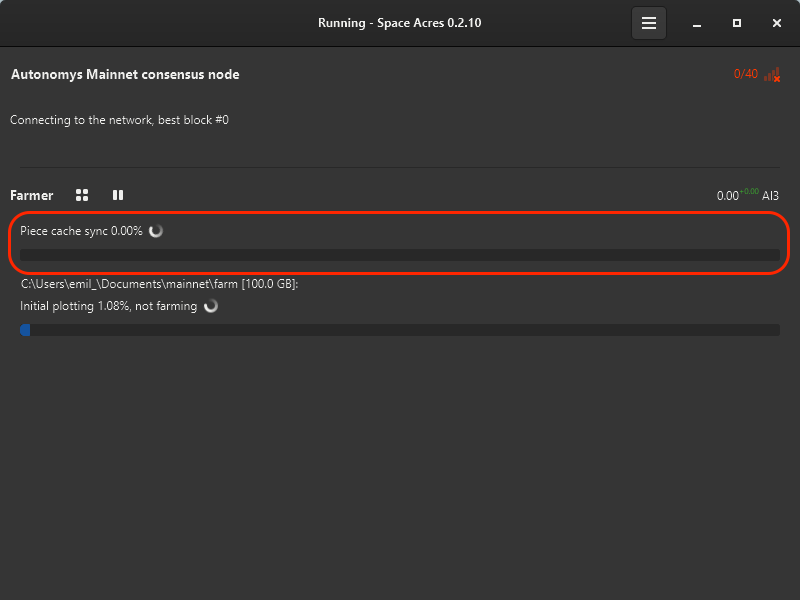
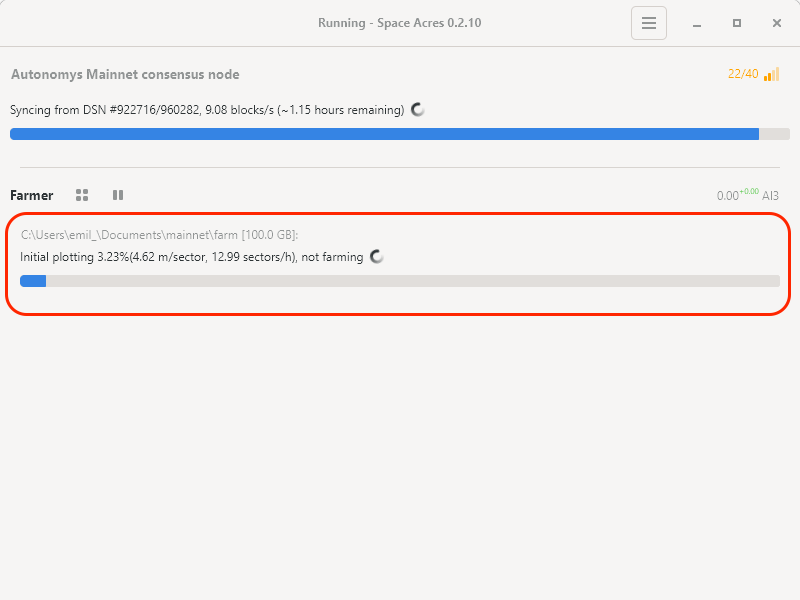
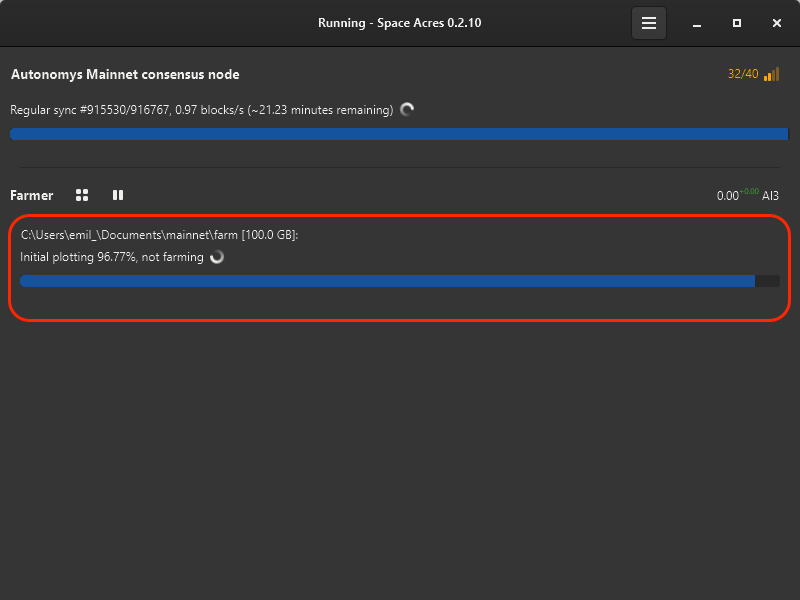
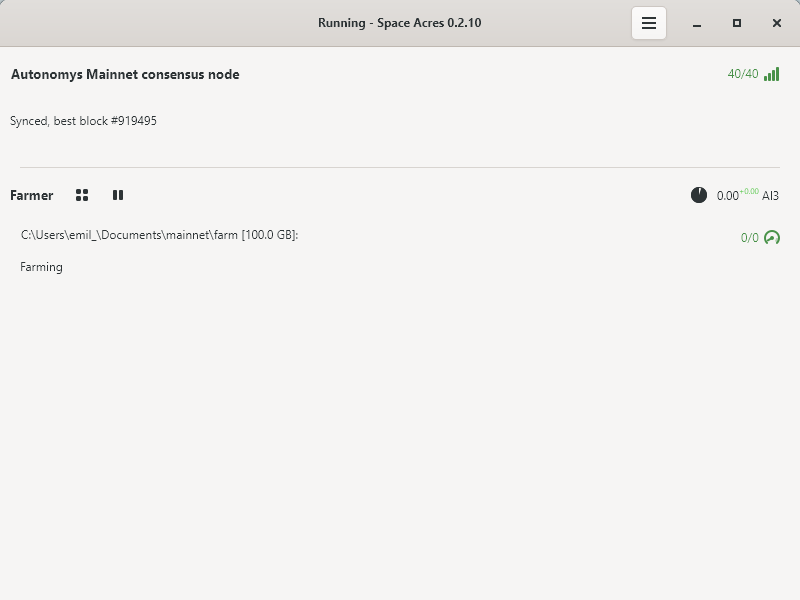
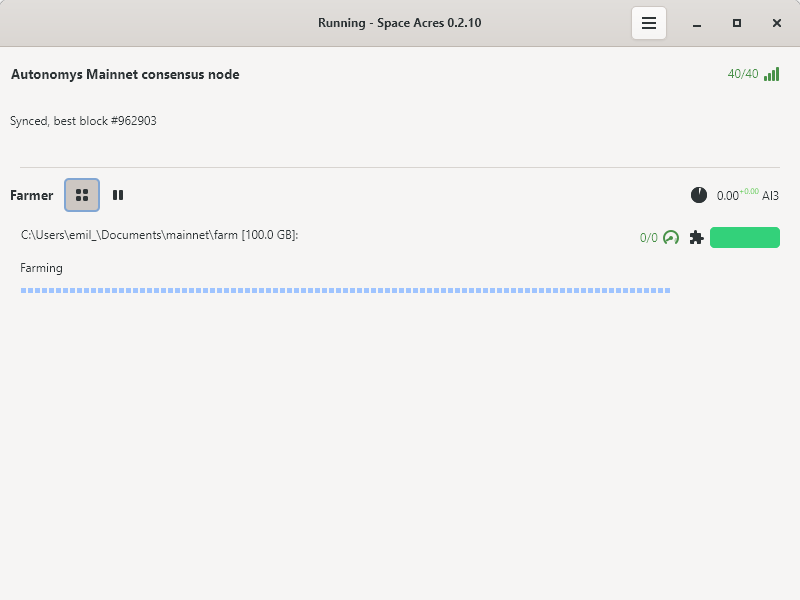
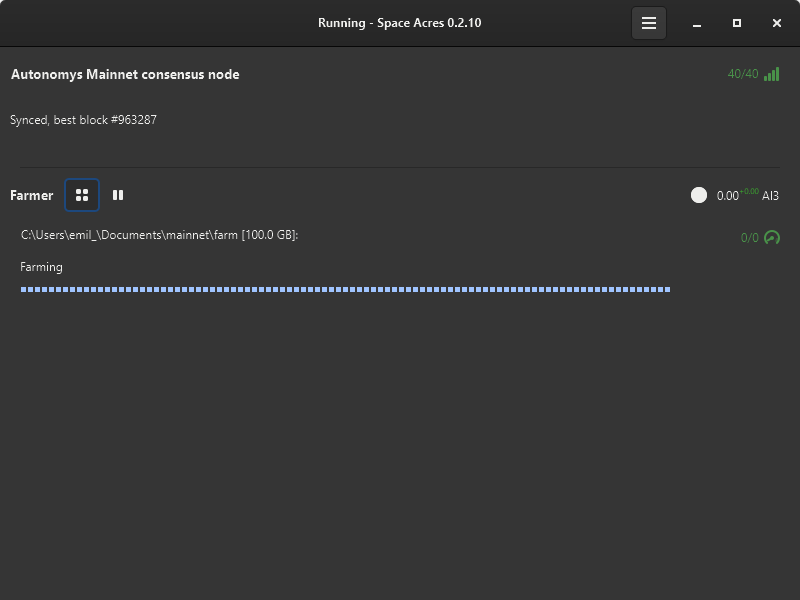
Initial syncing and plotting can take hours to days, depending on hardware, network speed, and farm size. Below are examples of the various stages you can expect.
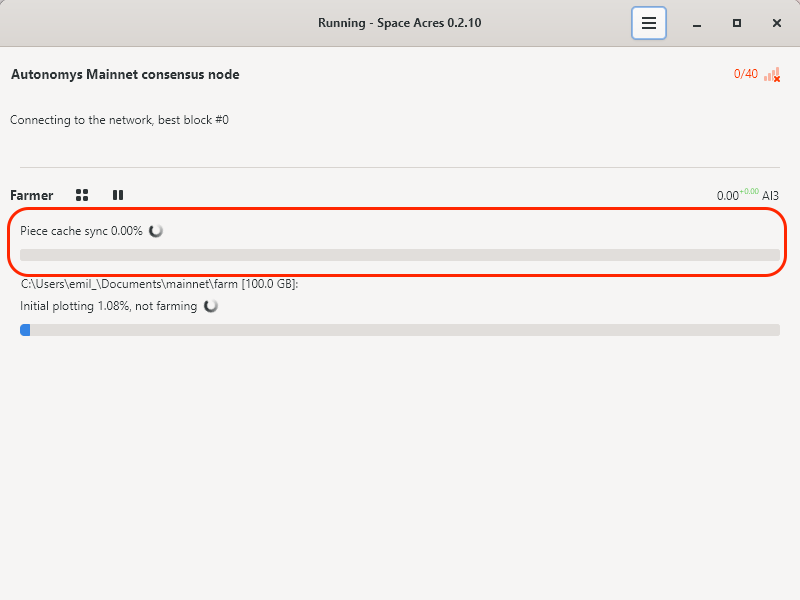
a. 缓存同步
b. 初始存储扇区绘制
c. 存储扇区绘制完成,现在开始收益耕作
-
Once syncing and plotting are complete, you'll notice a drop in CPU and RAM usage, and the dashboard will display your earned rewards and the estimated time until the next reward.
 提示
提示You can toggle the dashboard to view brief statistics or display all plotted sectors along with their status. The color codes of sectors are explained below. By hovering over the icons on the right, you can check the number of missed challenges, your average auditing and proving performance, and other useful stats.
Happy farming!
了解您的农场
Your farm is made up of sectors that change color based on their status. For your convenience, we've provided a table detailing the color codes associated with different sector statuses. This will enhance your insight into the activities and conditions of your farm.
| Status | 颜色预览 | Description |
|---|---|---|
| Default | Default farm sector state | |
| Plotted | Sector is plotted | |
| About to Expire | Sector is nearing expiration | |
| Expired | Sector has expired | |
| Downloading | Sector downloading (animated) | |
| Encoding | Sector encoding data (animated) | |
| Writing | Sector writing data (animated) |
- [同步](https://academy.autonomys.xyz/subspace protocol/network-structure/networking-protocols#synization)
- 绘图
- Farming
Help us improve by sharing your feedback on our releases. We’re eager to hear from you and make things better!
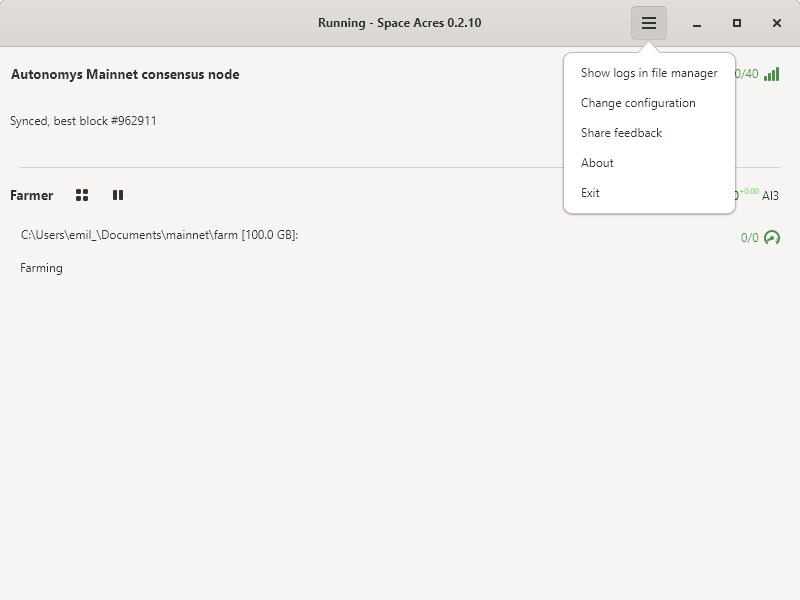
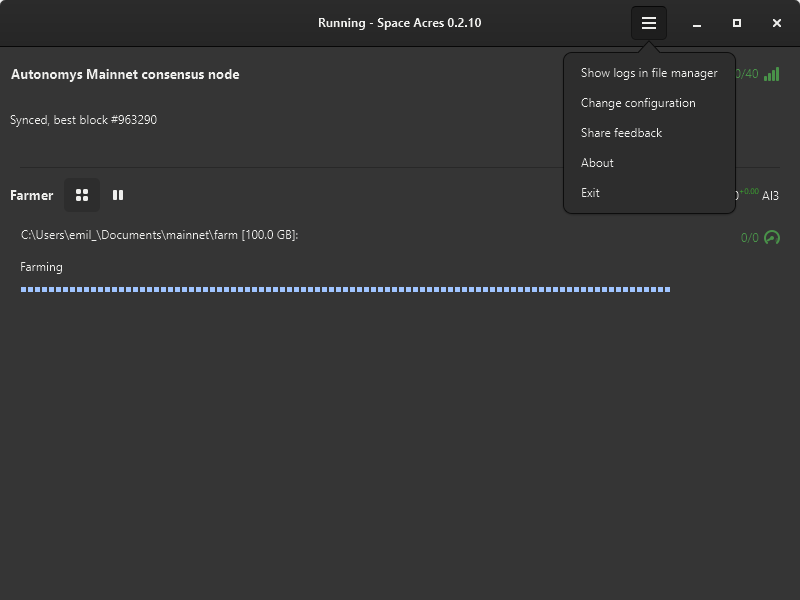
View Logs, Change Configuration, Leave Feedback
Click on the burger button menu to view the available options.
Troubleshooting
如果您在使用应用程序时遇到任何问题,您可以:
- 在支持论坛 中搜索,以查看您的问题是否已得到解决。如果是新问题,请随时创建新帖!
- Use the dedicated channel #farmer-chat on our Discord for peer-to-peer support.
- 在我们的GitHub上提交issue。