SubWallet
SubWallet - это сторонний кошелек, созданный для сетей Substrate и EVM командой SubWallet.
В этом руководстве описана настройка браузерного расширения. Также доступно мобильное приложение для Android и iOS.*
SubWallet — это удобный Web3-шлюз в мультивселенную экосистемы Substrate. Наша цель — предоставить вам самый простой и безопасный способ подключения к блокчейн-приложениям.
Чтобы узнать больше о SubWallet, посетите их вебсайт.
Создание или импорт нового кошелька
- Посетите сайт SubWallet и загрузите подходящую версию.
- После установки расширения, откройте его.
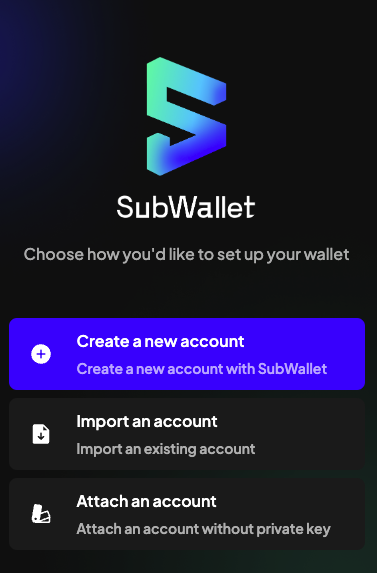
- The extension will present three configuration options. Select Create a new account to set up a brand-new wallet.
Если вы хотите импортировать существующий кошелек, затем выберите Импортировать аккаунт
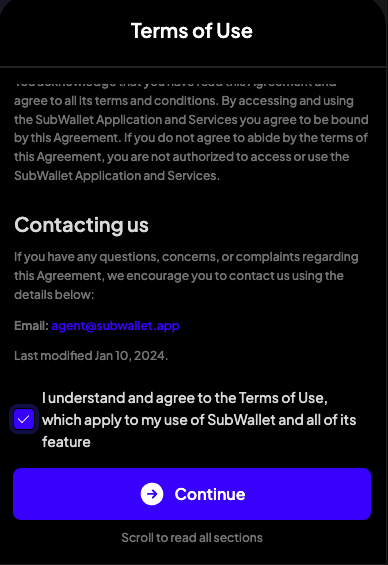
- Carefully read the Terms of Use, scroll to the bottom of the section, check the box confirming you understand and agree, and click
Continue.
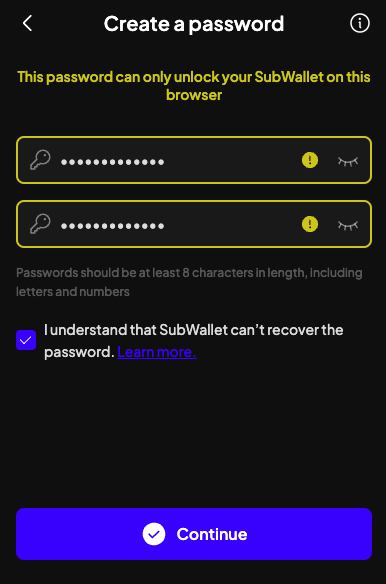
- Enter and confirm the password for your account. Make sure to use a strong password.
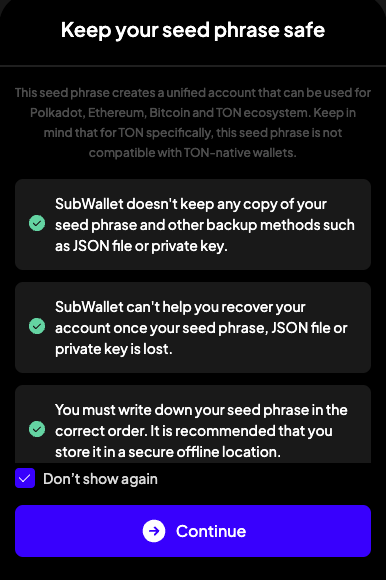
- Просмотрите информацию о том, как сохранить вашу ключевую фразу в безопасности. Нажмите на каждую подсказку, чтобы подтвердить, что вы прочитали и поняли ее.
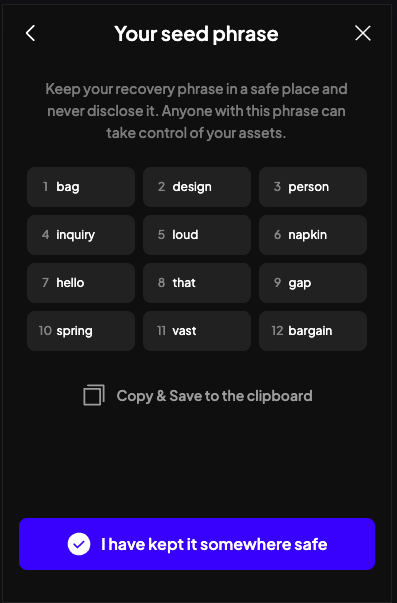
- Запишите свою seed фразу в безопасном месте. Если Вы когда-нибудь забыли свой пароль, или решите перевести аккаунт на другой компьютер.
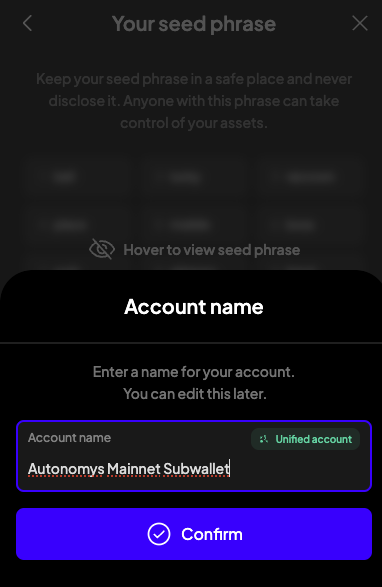
- Введите имя своего аккаунта.
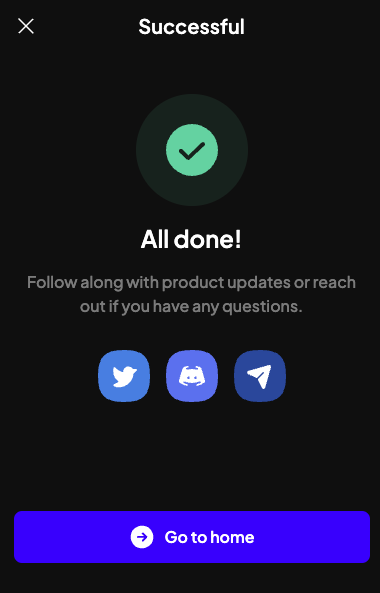
- Congratulations, you have successfully created your wallet with SubWallet! Click Go to home to open your wallet dashboard.
Find Your Autonomys Public Address
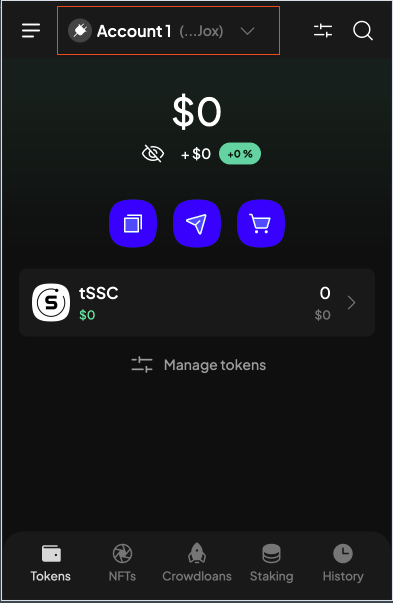
Because Autonomys Mainnet is supported natively by SubWallet out of the box, your public address is immediately accessible right from your home dashboard screen.
- From the home screen dashboard, locate the AI3 token listed under your active assets and click on the token row to view its details.
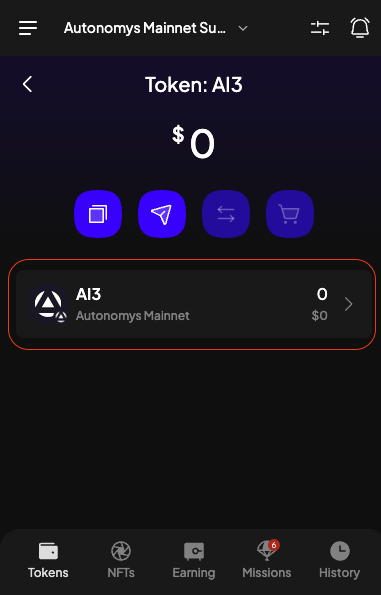
- Click on the Copy icon (the overlapping squares button beneath the price chart) to instantly copy your wallet's public address to your clipboard.

Подкл�ючение к сети Autonomys через RPC
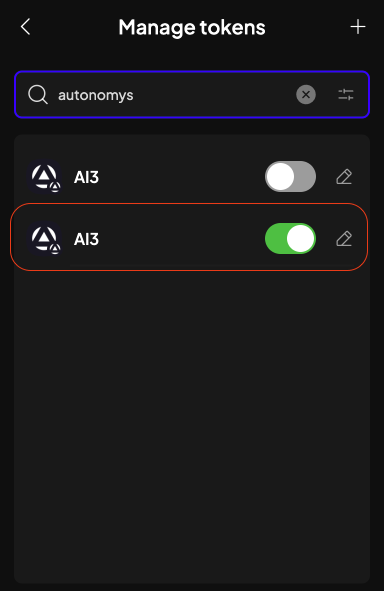
Sometimes a specific network or a pre-release testing environment may not appear in the default list of available networks. In these instances, you can manually connect to the Autonomys Network via an RPC endpoint.
Use the tabs below to copy the active RPC endpoint you need:
- Mainnet
- Chronos Testnet
-
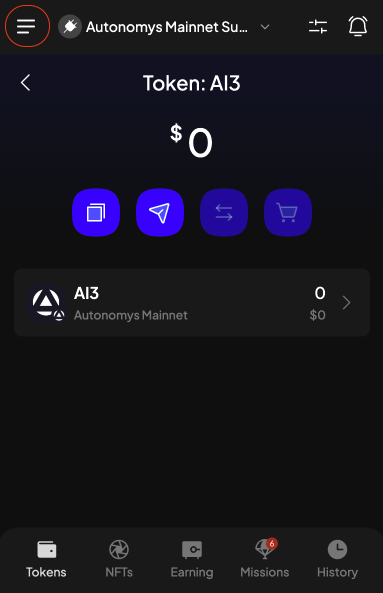
Open SubWallet and click the menu icon (three horizontal lines) in the top-left corner of the dashboard.
-
Inside the settings menu, select
Manage networks.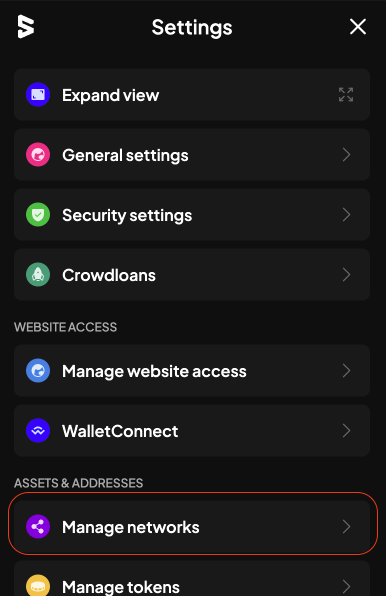
-
In the top-right corner of the Manage networks screen, click the plus (
+) icon.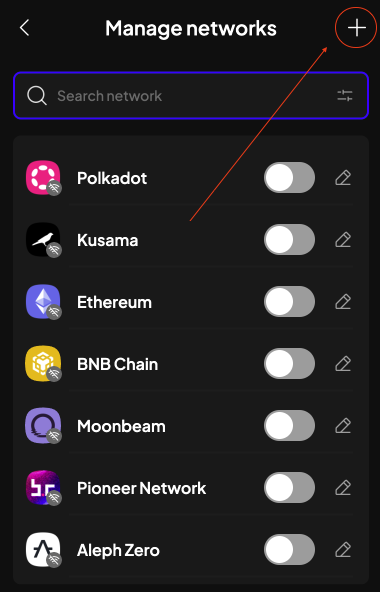
-
This opens the Import network menu. You will see several configuration options:
Provider URL(Required)Network NameSymbolBlock explorer(Optional — The default block explorer is Subscan)Crowdloan URL
-
Paste your chosen endpoint into the
Provider URLfield. Once you click outside the input field, SubWallet will automatically fetch and populate the remaining network details. ClickSave.- Example using the Chronos testnet RPC:
wss://rpc.chronos.autonomys.xyz/ws

- Example using the Chronos testnet RPC:
-
You will be returned to the network management screen, where your newly added custom network will be saved and enabled.
Решение проблем
If you experience issues or want to explore advanced extension configurations, please consult the Official SubWallet Documentation.
Как сделать резервную копию моего кошелька?
-
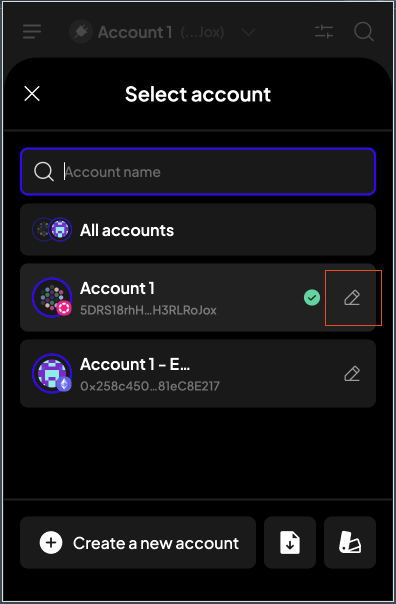
To export or back up your private keys, click on your account name selector at the top-left of the main dashboard.
-
Locate the specific account you want to back up and click its corresponding pencil/edit icon.
-
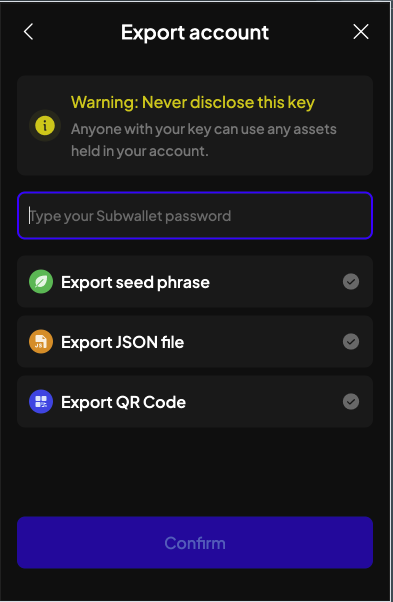
Select
Export account.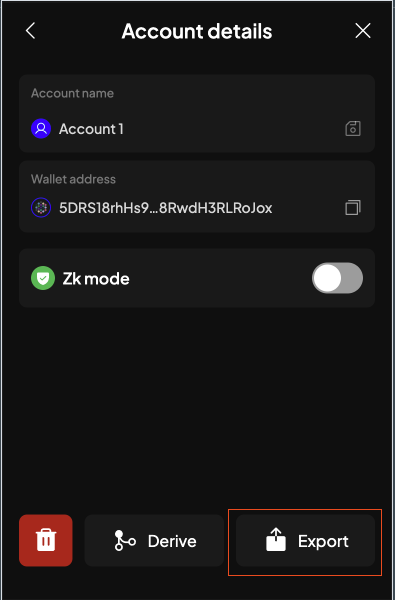
-
Enter your wallet password, then select your preferred export format:
Seed phrase,JSON file, orQR code. Ensure you store these exports in a secure, offline location.